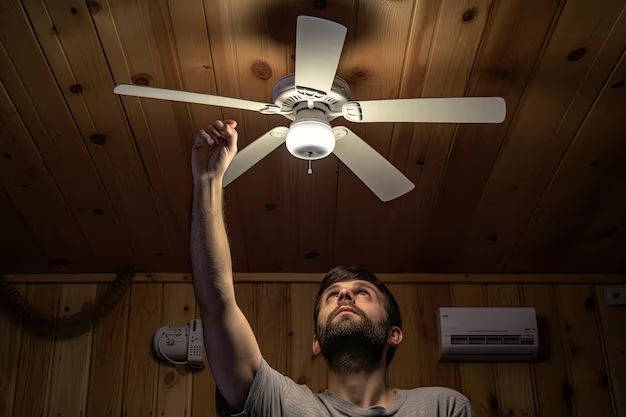
Installing a remote controlled ceiling fan can seem intimidating, but it’s actually a straightforward process that anyone can do with some basic tools and knowledge. The key steps involve mounting the ceiling fan, connecting the wires, programming the remote, and installing the fan blades. In this guide, we’ll walk through the complete process from start to finish. By the end, you’ll have a stylish, energy-efficient ceiling fan cooling your room and ready to control with the click of a button.
| Step | Description |
|---|---|
| 1 | Turn Off Power at the Breaker |
| 2 | Mount the Ceiling Fan Mounting Bracket |
| 3 | Install the Downrod |
| 4 | Attach the Ceiling Fan Motor |
| 5 | Connect the Wires |
| 6 | Install the Fan Blades |
| 7 | Program the Remote Control |
| 8 | Turn Power Back On |
Page Contents
What You’ll Need
- Remote controlled ceiling fan
- Phillips screwdriver
- Wire strippers
- Electrical tape
- Step ladder
- Mounting bracket
- Downrod
- Ceiling fan blades
- Remote control
Before getting started, make sure you turn off the power to the fan location at the breaker box. This is an important safety precaution whenever working with electrical wiring.
Instructions
1. Mount the Ceiling Fan Mounting Bracket
The first step is installing the mounting bracket that will hold the ceiling fan. You’ll need to access the ceiling junction box where you want to install the fan. Hold the mounting bracket up aligned with the junction box and use the included screws to attach it firmly in place. Make sure the bracket is anchored into a solid ceiling beam so it can support the weight of the fan.
2. Install the Downrod
Slide the downrod through the cover on the ceiling fan motor assembly. Make sure to remove any plastic protective coverings. Attach the downrod to the motor by inserting it into the coupling and tightening the set screws firmly. Feed the wires from the fan through the downrod.
3. Attach the Ceiling Fan Motor
Lift the fan motor assembly and hang it from the hook on the mounting bracket you installed earlier. The hook should fit into the groove on the downrod’s hanger ball. Once it’s seated properly, tighten the set screws on the hanger ball firmly to hold the fan securely in place.
4. Connect the Wires
There will be two sets of wires coming from the ceiling junction box – the power supply wires and the remote receiver wires. Match the wire colors from the fan to the corresponding wire colors coming from the junction box. Connect the black to black, white to white, green or bare copper to green/copper. Twist the ends together clockwise and secure with a wire nut. Wrap all connections individually with electrical tape for a more secure, waterproof connection.
5. Install the Fan Blades
Attach the blades to the blade arms using the provided blade screws. Make sure the screws are tight enough to hold the blades firmly without warping them. Install a blade on each arm around the motor.
6. Program the Remote Control
The remote will come with instructions on how to pair it with the ceiling fan receiver and set the codes. This typically involves pressing a sequence of dip switches to sync the remote with the fan. Once programmed correctly, you’ll be able to turn the fan on and off, control speeds, and operate lights if your fan includes them.
7. Turn Power Back On
Once all the connections are securely made, turn the power back on at the breaker box. Your remote controlled ceiling fan should be ready to use! Turn it on and test that the speeds work properly through the remote. If the fan direction is spinning backwards, simply turn off power again and switch the wire connections for the black and blue wires coming from the fan.
Helpful Tips
– Use a sturdy stepladder when working on the ceiling
– Make sure all wire connections are tight and secure
– If your ceiling outlet box is recessed, you may need a downrod extender
– Follow all safety precautions and turn power off at the breaker
– Consult a professional electrician if unsure about any part of the wiring
Conclusion
Installing a remote controlled ceiling fan takes careful attention to detail, especially when it comes to the wiring connections. But the process can be easily completed in just an hour or two. With the fan mounted securely, blades spinning properly, and remote control programmed, you’ll enjoy the convenience of adjusting your overhead fan from across the room. No more fumbling with pull chains! Just keep safety in mind, take it step-by-step, and you’ll have cool breezes and style overhead in no time.