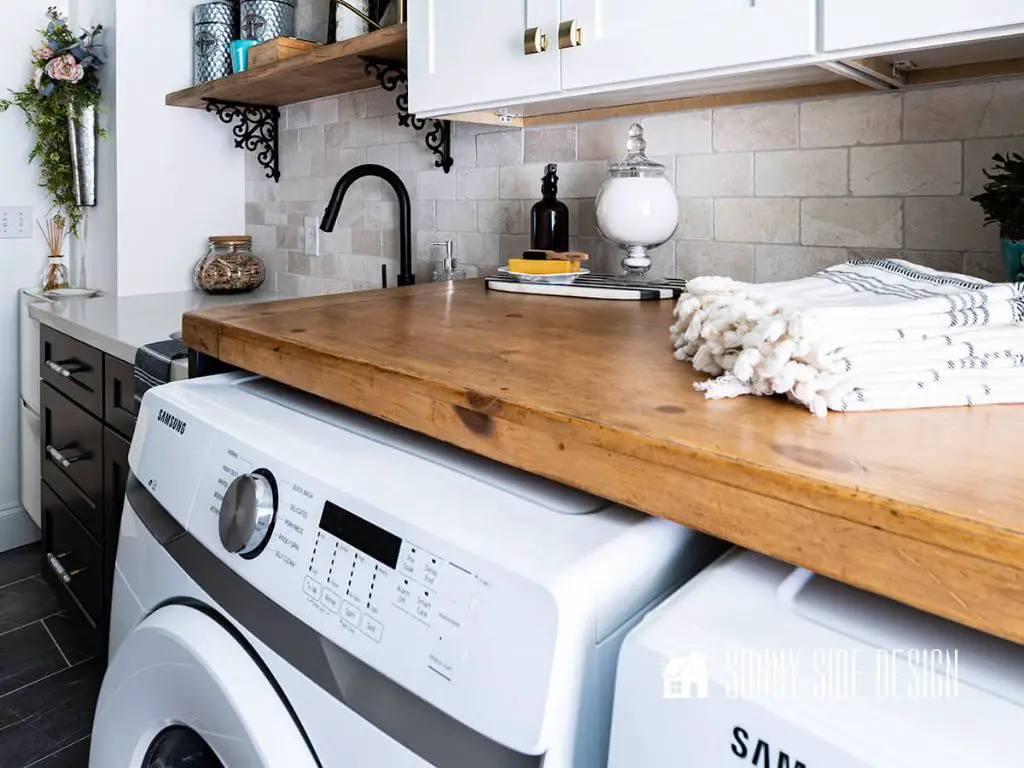
Having a dedicated folding table in your laundry room can make doing laundry so much easier. Instead of struggling to find a clear surface elsewhere in your home to fold clothes, you’ll have a spot right there in the laundry room to neatly fold and organize clothes as soon as they come out of the dryer. A folding table is also great for sorting clothes, ironing, and any other laundry task that requires a flat surface.
When choosing a folding table for your laundry room, you’ll want one that is durable, easy to clean, and the right size for your space. Building your own custom folding table is a great option if you want something specific to your laundry room. With some basic DIY skills, you can construct a folding table designed perfectly for your needs.
In this comprehensive guide, we will walk through everything you need to know to build your own folding laundry table. We will cover:
Page Contents
- 1 Requirements for a Laundry Room Folding Table
- 2 Tools and Materials Needed
- 3 Step-by-Step Instructions
- 4 Conclusion
- 5 Frequently Asked Questions
- 5.1 What size should I make the folding table?
- 5.2 What kind of wood should I use?
- 5.3 How much weight can a folding table hold?
- 5.4 What hardware do I need for a folding mechanism? Look for table leg folding hardware kits. These include the metal crossbar and pivoting brackets that allow the legs to fold up under the tabletop. Follow the installation specifications. Should I add storage features?
Requirements for a Laundry Room Folding Table
Before getting into the folding table plans, let’s go over the key requirements so you can create the ideal table for your laundry room.
Size
Take measurements of the space in your laundry room where you plan to place the folding table. Be sure to leave enough room around the table when folded up and down. A typical folding table is around 32-48 inches wide and 24-30 inches deep. But the size can vary based on your space.
Consider if you will be folding larger items like sheets and blankets that require more surface area. Or if this table will double for ironing, plan for extra space to lay garments flat.
Height
Standard table height is around 28-30 inches. But take into account your own height and what would be a comfortable working height for folding laundry. Somewhere between 28-34 inches is ideal.
Having it be too low can cause back strain over time. And too high can make it awkward to fold clothes.
Folding Mechanism
Look for table legs that fold up neatly underneath the tabletop. The folding mechanism should be easy to operate and safe to avoid pinched fingers.
Consider whether you want legs that fold independently or a connected frame. Individual folding legs allow you to store the table flush against the wall.
Materials
Use durable and moisture-resistant materials that can withstand the laundry room environment. Plywood, laminate, or finished wood are good options for the tabletop since they are easy to clean.
For the legs and supports, wood, steel, or aluminum can provide sturdy folding capabilities. Make sure any metal is rust-resistant.
Storage
Incorporate storage features like shelves, drawers, or a hanging bar to take full advantage of the folding table. This provides extra storage for laundry essentials when the table is folded up.
Hooks on the side are handy for hanging small items like delicates laundry bags. Baskets or cubbies can neatly store and organize laundry.
Tools and Materials Needed
Gather the following tools and materials before starting your folding table project:
Tools
– Circular or table saw
– Drill with various drill bits
– Sander
– Tape measure
– Level
– Pencil/marker
– Safety gear like goggles, gloves, etc.
Materials
– Plywood or laminate sheets for tabletop
– 2×4 lumber for framing
– Folding table hardware
– Wood glue
– Wood screws and bolts
– Wood finish/sealer
– Paint/stain (optional)
The specific dimensions and quantity will depend on the size of table you are building. Refer to the cut list and plans for your project.
Step-by-Step Instructions
Follow these steps to build your custom folding laundry table:
Step 1: Cut the Tabletop
Based on the measurements of your laundry room, cut your plywood or laminate sheet to size using a circular saw. Cut along the length first.
Sand any rough edges. Then apply a finish like polyurethane or paint/stain if desired. This will protect the tabletop from moisture.
Step 2. Construct the Frame
Cut 2×4 boards to make the inner frame that will attach to the tabletop. Arrange in a rectangle just slightly smaller than the tabletop.
Predrill holes and use wood screws to connect the boards, keeping the frame square.
Step 3. Attach Cleats
Cleats are strips of wood attached underneath the tabletop that provide support and a place to screw in the folding legs.
Cut 2×4 cleats to fit around the inside perimeter of the tabletop. Space them every 16-24 inches.
Predrill and attach with wood screws driven from underneath the tabletop into each cleat.
Tip
Stagger the spacing of the cleats from side to side to provide even support across the tabletop.
Step 4. Attach the Tabletop
With the help of an extra set of hands, carefully flip over the tabletop and position the frame centered underneath.
Predrill pilot holes through the frame up into the tabletop. Secure with long wood screws.
Step 5. Install Folding Leg Hardware
Attach a folding leg connector at each end of the two side frames according to the hardware specifications.
Position the crossbar and install the pivoting hardware to each cleat where the additional legs will go.
Step 6. Cut and Attach the Legs
Cut the 2×4 boards to length for the folding legs according to your table height. Cut complementary angles at the ends.
Attach a leg to each hardware piece by screwing bolts through the pilot holes.
Step 7. Add Supports and Shelves (Optional)
If you want storage features on your table, now is the time to add:
– Small shelves for laundry supplies
– Cubbies for organizing clothes
– Hanging bar for delicates bags
– Towel hooks along the side
Cut and secure these components between the crossbars underneath the tabletop. Make sure they do not obstruct the folding.
Step 8. Attach Safety Supports
On each outer leg, mount a safety support brace that will prevent the table from collapsing when folded up.
With the legs folded, screw one end into the leg. Screw the other end into the underside of the tabletop.
Step 9. Seal and Finish
Sand any rough edges. Then apply polyurethane or wood finish to protect and seal the wood.
Let dry fully before using. Optionally, add decor like painted patterns or labels to personalize your folding laundry table.
Conclusion
Building your own custom folding table is an easy weekend project that can provide specialized laundry storage for your home. Adjust the size, height, and features to perfectly fit your laundry room.
With some basic woodworking skills and these step-by-step plans, you can construct a folding table that neatly tucks away when not in use. Just follow the safety precautions and measure carefully as you build.
The result will be a useful, space-saving laundry aid that makes folding and organizing clothes far easier. Your back will thank you over time as well!
Frequently Asked Questions
What size should I make the folding table?
Consider the size of your laundry room and measure the space where you want to place the table. Leave enough room to walk around it. Standard sizes are usually around 32-48 inches wide by 24-30 inches deep.
What kind of wood should I use?
Plywood, laminate, or other moisture-resistant woods are ideal for the tabletop. Use kiln-dried 2×4 lumber for the framing and legs. Avoid particle board as it can swell and warp.
How much weight can a folding table hold?
Properly constructed, a wooden folding table can hold around 50-75 lbs when extended. Do not exceed the weight capacity to avoid damage or collapse.