Building a simple outdoor sitting bench from 2×4 lumber is an easy weekend DIY project for anyone looking to add extra seating to their patio, deck, or yard. With just a few common tools and basic carpentry skills, you can construct a sturdy, comfortable bench perfect for gathering with friends and family.
Page Contents
What You’ll Need
- 2×4 lumber (number of boards depends on desired size)
- Exterior wood screws
- Power drill and drill bits
- Circular saw or miter saw
- Tape measure
- Carpenter’s square
- Sandpaper
- Exterior wood stain, paint, or polyurethane (optional)
Cutting the Lumber
First, determine the desired dimensions for your bench. A comfortable depth is around 18-20 inches. The length can vary based on space and need; a 4-6 foot bench is common.
Cut the following lumber to size using a power miter or circular saw:
- 4 boards cut to desired length for the legs
- 2 boards cut to desired length for the seat
- 2 boards cut to desired depth for seat supports
Having the store or lumberyard do the initial cuts for you is another option. Just provide them with the measurements.
Assembling the Frame
Lay out the side boards on a flat surface with the legs pointing up. Position the seat boards across the tops of the legs so they overhang the sides evenly on both ends.
Attach each seat board to the side boards using several 3-4″ wood screws driven from above. Drill pilot holes to prevent the boards from splitting.
With the frame assembled, flip it over so the legs are pointing down. Mark the locations for the seat supports on the inside of the legs around 6-8″ up from the bottom.
Position the seat supports between the leg pairs at your marks and attach them with wood screws driven through the supports into the legs. Make sure the supports line up evenly.
Finishing Touches
Sand any rough edges on the lumber with 120 grit sandpaper. For a smooth finish, round over the tops of the seat boards with a router using a 1/4″ roundover bit.
Apply exterior wood stain, paint, or polyurethane if desired. Multiple thin coats will provide better protection for outdoor use.
Add wood filler to screw holes for a cleaner look and sand smooth once dry.
Installing cedar decking boards instead of 2x4s for the seat will provide a more comfortable sitting surface. Stain to match or go natural to allow the wood to weather to a silvery gray.
That’s all there is to it! In just an afternoon, you can construct a handsome 2×4 bench tailored exactly to your space. Maintain the wood with restaining/sealing every year or two to keep it looking its best outdoors.
Tips for Achieving a Professional Look
- Use pre-primed lumber or wood sealed with primer for a smooth paint finish.
- Clamp boards together tightly when screwing to prevent gaps.
- Select straight, knot-free lumber for a clean look.
- Add trim pieces along the edges for a decorative touch.
- Round over all edges and sand thoroughly.
Customizing Your Bench
Part of the beauty of DIY woodworking is being able to create exactly what you want. Consider these easy customization ideas for your 2×4 bench:
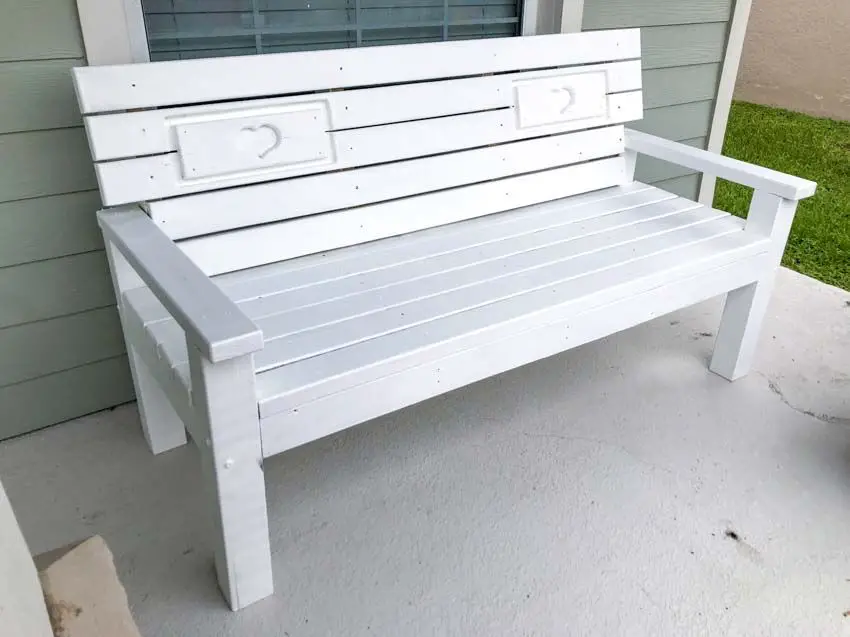
- Add a contoured backrest for lumbar support.
- Include wide armrests for comfort.
- Stain or paint the lumber in your favorite colors.
- Decorate the boards with painted designs.
- Inlay tile, beads, stones, or glass pieces into the seat.
- Distress the wood using chisels to create a rustic look.
- Attach a planter box to one side for greenery.
- Mount storage baskets below for organizing patio accessories.
- Include a removable center section for a cooler or fire pit.
Adding personal flair is half the fun of DIY. Don’t be afraid to get creative!
Ideal Uses for a 2×4 Bench
A sturdy 2×4 bench is one of the most versatile additions for any outdoor living space. Here are some great ways to put yours to use:
- Seating around a fire pit or chiminea
- Dining area bench
- Porch, patio, or deck seating
- Garden bench
- Entryway bench with shoe storage
- Picnic table bench
- Dock or pier seating
- Mudroom bench
- Extra seating for parties
- Child’s play area
- Workbench or potting bench
Simple 2×4 benches are also easy to move around and reposition as needed for gatherings or events.
Bench-Building on a Budget
One of the best aspects of a 2×4 bench is how inexpensive it is to build:
- 2x4s can be purchased for less than $4 per 8 ft. board from home centers.
- Just 5-6 boards are needed for a standard 4-6 ft. bench.
- Outdoor wood screws cost around $8-10 per box.
- Sandpaper, wood glue, primer and paint add a small amount.
So for well under $50, you can construct a high-quality, custom bench for your yard. Choosing paint grade lumber and finishing with stain can reduce the cost even further.
Skill Level Needed
Part of the beauty of a 2×4 bench is its simplicity. The basic carpentry skills needed include:
- Measuring and cutting lumber accurately.
- Drilling pilot holes.
- Driving screws safely.
- Sanding wood.
- Applying stain, paint or sealer.
These are all easy skills to learn by DIYers of any experience level. Detailed online tutorials provide guidance for every step.
With some patience and a weekend to spare, anyone can construct their own personalized 2×4 bench. It’s a project sure to provide enjoyment for many years to come.
Conclusion
Building your own 2×4 bench is one of the most satisfying, budget-friendly projects imaginable. With minimal cost and tools required, you can create durable outdoor seating customized exactly to your taste and space. Whether styling a sprawling deck, quaint patio, or cozy garden nook, a homemade bench adds function and personality. Follow the steps above to establish your own carpentry skills while crafting a personalized backyard focal point the whole family can enjoy for seasons to come.