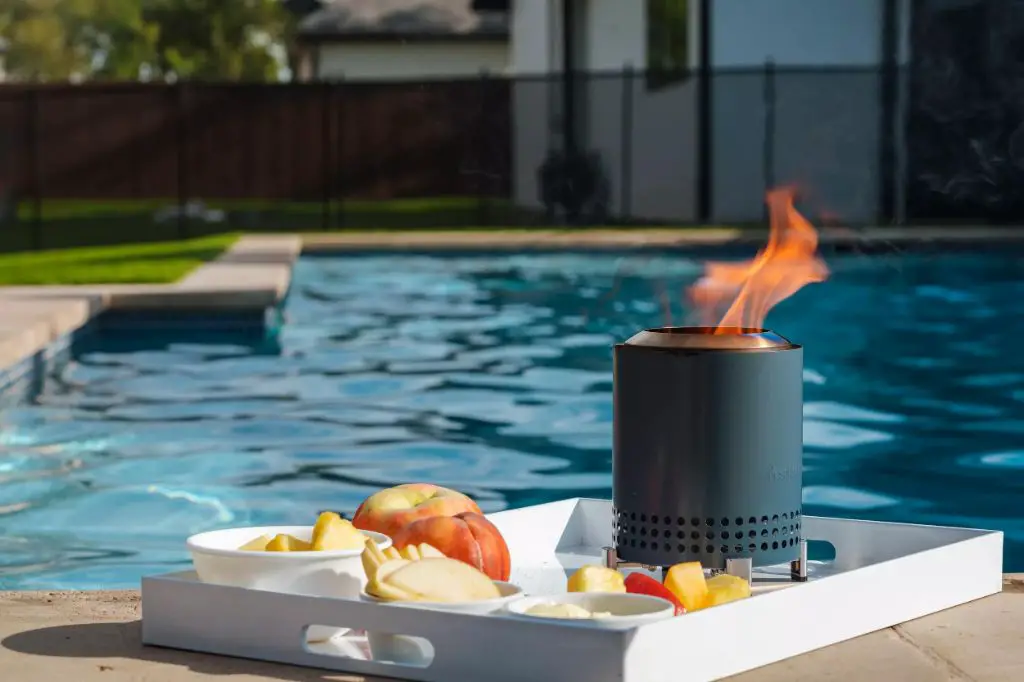
The Mesa Solo Stove is a lightweight, portable wood burning stove that’s great for camping, backpacking, and emergency preparedness. It burns small sticks and twigs efficiently to cook meals or boil water while producing minimal smoke. But what if you don’t have the official Mesa Solo Stove and need an alternative? There are a few options for improvising a stove that will work similarly.
Page Contents
Why Use a Solo Stove?
Solo stoves are popular because they:
- Are lightweight and compact for easy portability
- Burn small sticks and biomass fuel efficiently
- Produce less smoke than an open campfire
- Require no fuel canisters
- Can boil water quickly
Having a backyard stove option allows you to cook outdoors and have an emergency preparedness option without relying on gas or electricity.
What Are Some Alternatives?
While the official Mesa Solo Stove is specially engineered to burn efficiently, there are some household objects and simple DIY options that can replicate the key features on a budget. The main considerations are finding an enclosed space to promote air flow and feed sticks/twigs easily.
#1 Tin Can or Bucket
One of the easiest stove alternatives is fashioning a container to enclose the fire. Options include:
- A metal coffee can or large soup can
- A metal bucket
- A steel oil drain pan
The key is choosing a non-flammable metal container that won’t melt from the heat. Remove any interior coatings or plastic parts that could melt or burn.
Then, use a nail, drill, or screwdriver to poke air holes around the lower portion of the sides. Space the holes about 1-2 inches apart for good airflow. Avoid the bottom so ashes don’t fall out.
To feed the fire, you’ll need to remove the container lid. But having a metal vessel to enclose the flames promotes air circulation and controls smoke.
Advantages of a Can or Bucket Stove
- Simple to make with common materials
- Inexpensive (often free)
- Lightweight
- Portable
- Enclosed design promotes air flow
Considerations
- Less efficient design than a Solo Stove
- Smaller capacity than a Solo Stove
- No built-in pot stand
You’ll need to improvise a way to position a cooking pot, such as placing some stones or cutting a metal grill to lay across the top. But a basic can or bucket with air holes makes a decent improvised backyard stove.
#2 Metal File Cabinet
Another option is repurposing an old metal file cabinet into a stove. The cabinet creates an enclosed chamber while the vertical drawer design makes it easy to feed sticks and twigs.
Start by removing any plastic drawer pulls or other non-metal components. Remove the drawers and use a drill or screwdriver to poke air holes around the sides of the cabinet.
To create a chimney, cut or knock out a hole near the top of one side. Attach stovepiping to direct the smoke outdoors.
To use the stove, open one drawer at a time to feed fuel into the fire chamber. The vertical design and chimney promote good airflow. Close drawers once the wood is reduced to coals to control the air.
Advantages of a File Cabinet Stove
- Makes use of recycled materials
- Vertical design feeds fire easily
- Drawers control air flow
- Can cook on top like a typical stove
Considerations
- Harder to make than a bucket stove
- Not as portable as a bucket
- Smaller capacity than a Solo Stove
- Needs a chimney
But an old abandoned file cabinet can make a functional backyard stove for very little cost.
#3 Grilling Coals Method
For a super simple stove, you can use leftover grilling coals as the heat source instead of burning sticks.
Start by lighting about 5 pounds of charcoal in a grill until the coals are glowing red. Carefully transfer the hot coals to the center of a metal pan or surface safe for the heat.
Use tongs to stack the coals together, leaving space around the edges for air flow. For a portable stove, place the coals inside a metal bucket or soup can with air holes added around the sides.
The compacted coals will provide an intense heat source suitable for cooking. Have more charcoal ready to add as needed for longer cooking times.
Advantages of the Coals Method
- Very simple to set up
- Uses readily available materials
- Intense heat from coals
- Portable in a container
Considerations
- Short cooking time as coals burn out
- Needs a grill to prepare coals
- Less control over air flow than enclosed stove
- Smoke from adding new coals
This isn’t the most efficient cooking method, but will work in a pinch if you already have grill coals ready to go.
#4 Brick or Cinder Block Design
For a more advanced DIY backyard stove, you can construct a brick or cinder block chamber. This requires more effort but can produce an efficient, durable stove.
To build a brick stove:
- Stack bricks or blocks to form walls, leaving an opening in the front to feed sticks.
- Create a chimney flue out of cement or metal pipe.
- Use angled walls and baffles inside to control airflow.
- Add a metal cooking surface on top.
Aim for an enclosed fire chamber about 18-24 inches on each side. The materials absorb and distribute heat while the chimney draws air through.
With careful construction, a brick stove can achieve similar efficiency to a Solo Stove with an ample cooking surface on top. But this requires some masonry skills and access to bricks.
Advantages of a Brick Stove
- Can be sized to your needs
- Very durable
- Design channels air flow
- Large cooking surface
Considerations
- Labor intensive to build
- Heavy, not portable
- Need masonry skills
- Works best with chimney
If you have the time and skills, a custom brick stove is a robust backyard cooking option. But it’s far less portable than the other methods.
Choosing the Best Solo Stove Alternative
The best DIY Solo Stove alternative depends on your needs and resources. Here’s a quick comparison:
| Method | Difficulty | Portability | Efficiency | Cost |
|---|---|---|---|---|
| Tin can or bucket | Easy | High | Moderate | Low |
| File cabinet | Moderate | Low | Moderate | Low |
| Grilling coals | Very easy | High | Low | Low |
| Brick stove | Hard | None | High | High |
A tin can or metal bucket offers the best combination of portability, ease of construction, and efficiency for mimicking a Solo Stove. File cabinets and DIY brick stoves work best as dedicated backyard stoves. While lighting coals requires least effort but is less efficient.
Consider your budget, skills, and cooking needs to decide which type of improvised stove will work best for you. And always practice fire safety when using homemade stoves. The Mesa Solo Stove design may have advantages, but the right homemade stove can still be very functional for backyard cooking.
Frequently Asked Questions
Is it safe to make my own backyard stove?
Backyard stoves can be safe if built properly using non-flammable materials and exercising caution when operating the fire. Ensure your stove has adequate ventilation and avoid plastics or coatings that could melt or burn. Keep the fire contained and have water or a fire extinguisher on hand just in case. Practice common sense fire safety.
What size should my homemade stove be?
For efficency, aim for an enclosed fire chamber around 18-24 inches square. This allows enough space for feeding sticks while promoting good airflow. Size your cooking surface proportional to the firebox size.
What can I use instead of a chimney?
While a chimney draws air best, you can create a simple vent by poking holes in the top of a bucket stove instead. Or raise your cooking surface and leave the top open to vent. Avoid restricting airflow.
How long will an improvised stove burn for?
This depends on the materials and size. A well-constructed brick or file cabinet stove with ample sticks can burn for hours. Can stoves burn for 30-60 minutes before needing more fuel. Grilling coals provide intense heat but burn out fastest.
Can I cook on an improvised stove?
Yes, these stoves produce sufficient heat for cooking meals. The key is evenly distributing small sticks to maintain a consistent fire. Let the fuel burn down to hot coals before placing pots or pans to cook. Add more sticks slowly as needed for longer cook times.
Conclusion
While the Mesa Solo Stove is an efficient, convenient option, there are many ways to improvise a homemade backyard stove on a budget using recycled materials. A metal bucket, tin can, or file cabinet with air holes can replicate key features of the Solo Stove design. Or a DIY brick stove offers a robust permanent option. Consider your needs and resources to create a backyard stove for off-grid cooking. With some creativity, you can repurpose many common items into a functional cooking stove.