When it comes to painting trim and molding, professionals rely on high-quality paints and tools to get the job done right. The type of paint, applicator, and technique used can make all the difference in achieving a smooth, durable, and attractive finish. Here’s a look at what experts use for trim painting projects.
Page Contents
Paint Selection
Professional painters most often use trim paints that are formulated specifically for painting baseboards, crown molding, door and window casings, and other trim components. These paints are designed to provide excellent flow and leveling, allowing the coating to self-level and smooth out nicely. The best trim paints also offer superior adhesion and durability to withstand frequent cleaning and wear without chipping, peeling, or fading.
Oil-based alkyd enamels have traditionally been the top choice for interior and exterior trim. The high gloss finish provides a smooth, hard surface that accentuates decorative details. However, recent advancements in latex technology have produced water-based acrylic trim paints that offer performance to rival solvent-based enamels with the added benefit of easy soap and water cleanup. Many professionals now opt for quality latex trim paints because they provide excellent results without the messy cleanup or strong odor of oil-based products.
For those who still prefer an oil-based coating, alkyds with low VOCs (volatile organic compounds) are now available to comply with stricter environmental regulations while still delivering a durable, high gloss finish. But regardless of chemistry, professional-grade trim paints all share characteristics like good hide, uniform sheen, and longevity.
Trim Paint Features
- High gloss, satin, or semi-gloss sheen
- Excellent flow and leveling
- Superior adhesion
- Durability and longevity
- Resistance to chipping, cracking, peeling
- Easy soap and water cleanup (latex)
- Uniform appearance and sheen
Professional painters may also use specialty finishes like lacquers, varnishes, or shellacs for custom trim painting projects. But standard trim enamels and acrylics work well for most residential repaints.
Paint Applicators
Applying trim paint properly is just as important as choosing the right product. Professionals use high-quality applicators designed to provide a smooth, consistent coating on architectural millwork. Here are some of the essential paint tools for trim projects:
Brushes
Trim brushes are made specifically for painting baseboards, crown molding, railings, and other decorative elements. The bristles are finely tapered for precise control when cutting in tight areas and corners. Professionals prefer premium nylon/polyester blends over cheaper bristle types like pure china bristles.
- 2-3 inch angled sash brush for cutting in along edges
- 1-2 inch straight trim brush for general trim painting
- A high-quality brush helps achieve a smooth finish
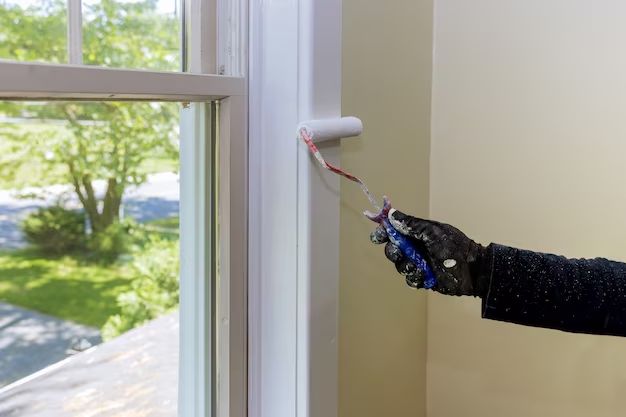
Rollers
While brushes handle most of the work, mini foam rollers are useful for applying finish coats on large expanses of trim. The compact size allows painting close to edges and in tight spaces.
- 4-inch foam rollers with smooth, dense nap
- Disposable foam sleeves simplify cleanup
- Quickly roll on an even coat over large surfaces
Paint Pads
For trim touch ups or painting projects with minimal millwork, paint pads provide an easy tool for rolling paint directly onto trim. The dense foam pad holds paint like a roller and applies it with smooth, controlled strokes.
Sprayer
For extensive trim repaints, professionals may opt to use an airless paint sprayer. These power tools allow a fast, efficient application of paint at a high productivity rate. But they require skill and experience to master proper spraying technique.
- Fine finish spray tips for trim
- High pressure for a smooth, even finish
- Fast coating of large amounts of trim
Painting Technique
No matter what tools are used, proper painting technique is critical to achieving professional-looking results. Here are some tips professionals follow when painting trim:
- Carefully brush trim paint onto edges and corners using a high-quality sash brush.
- Maintain a wet edge and avoid back-brushing after paint has dried.
- Apply finish coats in one direction with light, even pressure.
- Use a small foam roller to quickly apply paint over large flat surfaces.
- Gently smooth out drips or sags using a lightly loaded brush.
- Work methodically and systematically when spraying trim.
- Apply multiple thin coats rather than one thick, heavy coat.
Proper surface prep is also key. Trims should be cleaned, lightly sanded, and primed before painting for best results. Allowing proper dry time between coats will help achieve a glassy smooth finish.
Conclusion
Professionals rely on top-tier paints, specialized applicators, and refined techniques to achieve flawless results when painting trim. High-gloss alkyd enamels or premium latex acrylics paired with quality nylon/poly blend brushes allow precise paint application on intricate architectural details. Mini foam rollers and pads help speed up the painting process. And following proper preparatory and painting procedures results in a durable, beautiful finish. By using professional-grade tools and employing careful techniques, trim painting jobs can take on the smooth, lustrous look of expert craftsmanship.