Having proper weatherstripping on sliding doors is crucial for energy efficiency. According to the U.S. Department of Energy, air leakage accounts for 25-40% of the energy used for heating and cooling a home. Sliding doors can be a major source of air leaks if not properly weatherstripped. Selecting the right weatherstripping material and correctly installing it will help stop drafts, moisture, dirt, pollen and noise from entering through sliding doors.
Page Contents
- 1 What are the options for weatherstripping sliding doors?
- 2 Where should weatherstripping be installed on sliding doors?
- 3 What are the best materials for weatherstripping sliding doors?
- 4 How do you measure for sliding door weatherstripping?
- 5 What tools are needed to install sliding door weatherstripping?
- 6 What are the steps for installing sliding door weatherstripping?
- 7 How do you install weatherstripping in sliding door tracks?
- 8 What are the benefits of weatherstripping sliding doors?
- 9 Conclusion
What are the options for weatherstripping sliding doors?
There are several different types of weatherstripping materials available for sliding doors:
- Felt – Felt weatherstrip is a fiber material that is dense and durable. It compresses to form a tight seal against drafts. Felt comes in adhesive-backed strips for easy installation.
- Foam – Foam weatherstripping is available in various materials including polyurethane and vinyl. The compressible foam fills gaps to block airflow. Foam is a lightweight option available in self-adhesive strips.
- Rubber – Rubber weatherstripping is often used for sliding doors. Flexible rubber strips seal gaps while allowing the door to slide open and closed smoothly. Rubber withstands temperature extremes well.
- Silicone – Silicone makes an airtight, waterproof seal. It is more expensive than other options but remains permanently flexible.
- Metal – Metal weatherstripping, such as bronze or aluminum, provides a rigid seal and high durability. Metal is susceptible to bending so must be installed carefully.
- Magnetic – Magnetic weatherstripping uses magnetic strips that adhere to metal sliding door frames for a tight seal. This option is best for metal door frames.
Several factors influence which material will work best for a specific sliding door situation:
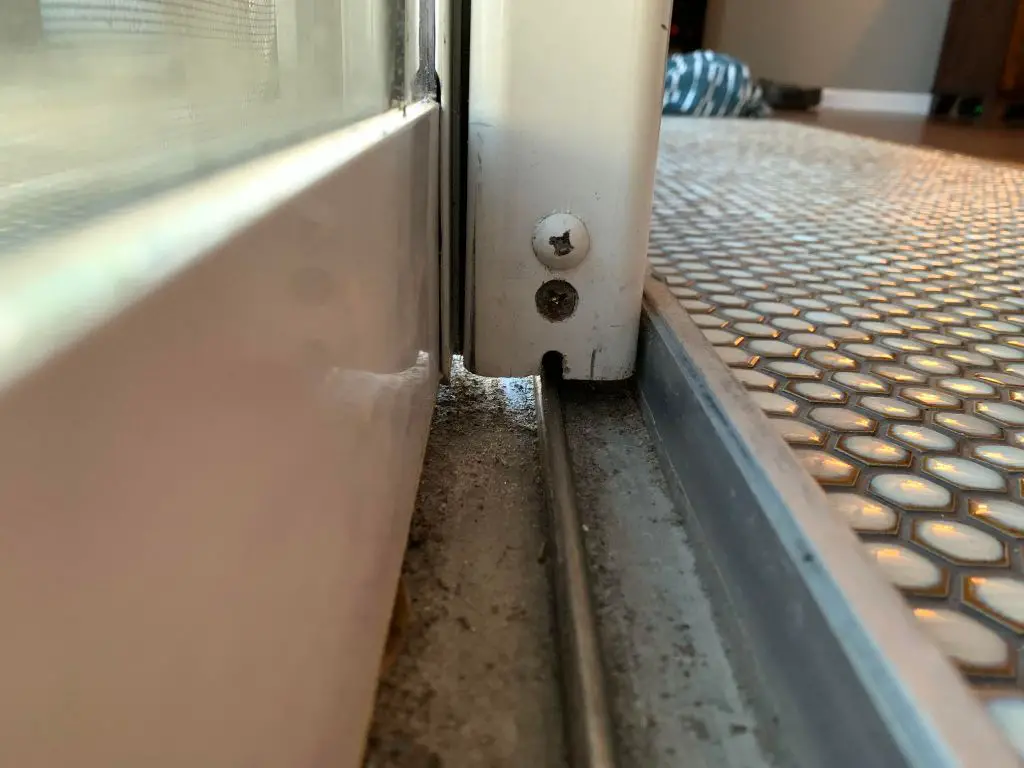
Where should weatherstripping be installed on sliding doors?
Weatherstripping should be applied:
- Along the top track – Sealing the space between the top of the sliding door and the track overhead prevents warm air from escaping and stops exterior air, moisture and pests from entering.
- On door frames – Any gaps between the door frame and sliding door panels should be sealed with vertical strips of weatherstripping.
- Between panels – Foam or rubber seals will prevent air leaks between the sliding door panels where they meet at the center.
- At the bottom – Weatherstripping along the bottom of the sliding door closes gaps between the door bottom and threshold.
Be sure to apply weatherstripping materials uniformly and smoothly without bunching or gaps in the seals. Compress seals slightly when installing so they expand to provide an airtight fit. Follow all manufacturer’s instructions for specific weatherstripping products to ensure proper adhesion and application.
What are the best materials for weatherstripping sliding doors?
Here are some of the best options for weatherstripping sliding doors:
- Foam – Adhesive-backed foam strips are inexpensive, easy to install and compressible enough to create a tight seal. Choose high density foam for better durability and compression. Foam works well on sliding door frames and between panels.
- Rubber – Flexible rubber seals effectively fill gaps while resisting temperature extremes. Durable rubber weatherstrip is ideal for sealing sliding door frames and the bottom threshold.
- Silicone – Silicone provides one of the most impermeable seals. It won’t degrade or rot over time. Use silicone for permanent sealing between panels and frames.
- Magnetic – Magnetic weatherstripping offers a quick installation solution for metal sliding door frames. The magnetic seal resists dust and dirt efficiently.
Consider foam or rubber sealing strips for routine maintenance and silicone or magnets for a more heavy duty seal. Matching the weatherstripping to the size, shape and material of the sliding door gaps will provide the best protection.
How do you measure for sliding door weatherstripping?
Follow these steps to measure sliding doors accurately for weatherstripping materials:
- Use a tape measure to measure the length of each side of the door frame individually. Measure the top, bottom and both vertical sides.
- For the top track area, measure the width of the gap that needs filled.
- Check the height of the vertical gaps between door panels and frame. Include the dimensions of any intersecting horizontal spaces.
- Have the sliding doors meet at the center and measure the width of the gap between the two door panels.
- Slide one panel to open the doors fully and measure the width of the floor gap at the bottom threshold.
- For any existing weatherstripping, measure the height and width to match replacement materials.
- Note all measurements to determine the total linear feet needed for each type of weatherstripping seal.
Having detailed dimensions of all gaps will ensure you purchase enough weatherstripping materials to properly seal the entire sliding door. Consider adding 10-20% more length to account for mistakes, irregular gaps and quantity discounts.
What tools are needed to install sliding door weatherstripping?
You can complete most sliding door weatherstripping projects with the following basic tools:
- Tape measure
- Pencil
- Scissors or utility knife
- Screwdriver
- Handheld roller
- Masking tape (for some materials)
- Sealant caulk and caulk gun (as needed)
- Flashlight (to see gaps clearly)
- Ladder (for second story doors)
Gather any specialized tools required for the specific weatherstripping product such as magnet fasteners or door threshold clips. Having the right tools on hand will make quick work of sliding door weatherstripping installation.
What are the steps for installing sliding door weatherstripping?
The general process for installing weatherstripping on sliding doors includes:
- Inspect – Look closely at all sides of the sliding door frame for gaps that need sealed. Have doors fully open and closed.
- Clean – Use a vacuum and damp cloth to clear any dirt or debris from the door tracks and threshold.
- Measure – Accurately measure all gaps that need weatherstripped. Include length, width and height.
- Cut – Cut weatherstripping segments to fit each measured length using scissors or a utility knife.
- Install – Remove adhesive backing then press weatherstripping firmly into place, sealing all gaps. Use a hand roller over the seal.
- Adjust – Make sure doors operate smoothly and weatherstripping compresses with no bunching or gaps.
- Finish – Apply any necessary trim pieces and caulk for a seamless seal. Do a final inspection for leaks.
Always follow the specific manufacturer’s application guidelines for the weatherstripping products used. Allow proper drying times for adhesives before using doors.
How do you install weatherstripping in sliding door tracks?
Sealing the top sliding door track prevents air leaks and keeps out dirt. Follow these steps:
- Clean track thoroughly removing built up debris which can impede door movement.
- Measure width of track gap needing sealed. Ensure weatherstrip will compress to fit.
- Cut sections of adhesive-backed foam weatherstrip to the measured lengths.
- Remove adhesive backing and press foam firmly into track gap. Rub or roll the entire seal.
- Conform weatherstrip to any bends or corners in the track.
- Use a utility knife to notch foam strip at rollers so doors can operate smoothly.
- Replace door panels and slide open and closed to test seal compression.
- Make any adjustments needed for smooth operation before adhesive sets.
The best sliding door track weatherstripping seals gaps without impeding door movement. High density foam works well for easy DIY installation in the track.
What are the benefits of weatherstripping sliding doors?
Installing quality weatherstripping on sliding doors provides many important benefits:
- Energy Savings – Sealing air leaks can reduce heating and cooling costs by 10-15% annually.
- Comfort – Greatly reduces drafts and cold spots for improved home comfort.
- Noise Reduction – Acts as a sound barrier keeping exterior noise from entering the home.
- Durability – Protects doors and frames from exterior moisture damage.
- Cleanliness – Keeps out dust, dirt, pollen and pests from entering the home.
- Added Value – Enhances energy efficiency ratings for higher resale value.
- Curb Appeal – Doors operate smoothly and seal tightly for a quality appearance.
Taking the time to properly weatherstrip sliding door gaps results in less air infiltration year-round. Sealing the leaks leads to energy savings and home comfort.
Conclusion
Weatherstripping is an essential maintenance task for sliding doors to lower energy costs and improve comfort. Carefully measuring all door gaps and frames allows you to cut the weatherstripping to size for a perfect fit. Foam, rubber, silicone and magnetic vinyl strips are top options that compress to seal leaks. Matching the weatherstrip material to each location results in the best performance. With the right materials and some simple tools, weatherstripping sliding doors is an easy DIY project to stop wasteful air leaks from compromising efficiency.