Page Contents
Quick Answers
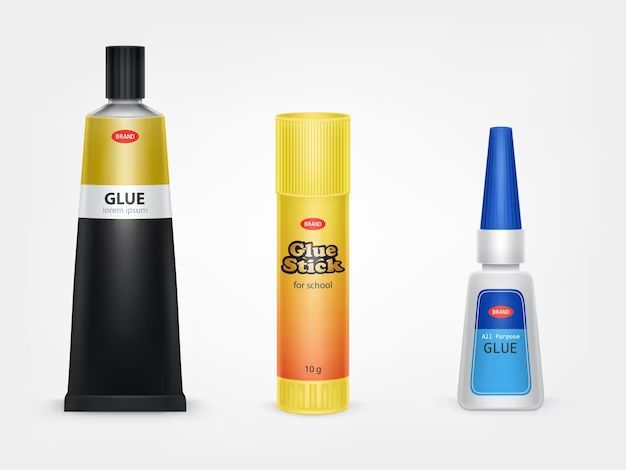
There are a few options for gluing a rear defroster:
- Silicone adhesive – This clear, flexible adhesive can withstand high temperatures, making it a good choice for auto applications like defrosters.
- Epoxy – A two-part epoxy formulated for high heat tolerance could also work well for gluing defrosters.
- Spray adhesive – An industrial-grade spray adhesive is another option that can bond well in high-heat automotive environments.
The key is choosing an adhesive that is designed to withstand high temperatures. Defrosters can get very hot, so you need a glue that won’t melt or lose bond strength under high heat. Silicone and epoxy products designed for auto and electronics use are good bets.
How Does a Rear Defroster Work?
A rear defroster is an electrical heating element affixed to the rear window of a vehicle. It serves to clear frost, snow, and fog from the rear window by applying heat. Here is an overview of how a rear defroster works:
- Thin metal wires are embedded in the rear window glass. Typically, they form a grid pattern.
- The wires are connected to the vehicle’s electrical system.
- When activated, an electric current runs through the wires, heating them up.
- As the wires heat, they warm the glass, helping melt ice, evaporate moisture, and prevent fog buildup.
- This provides clear visibility out the rear of the vehicle.
The heating wires are fixed to the glass using a specialized adhesive that can withstand temperature extremes. Proper adhesion is critical for defroster function and longevity.
Choosing the Right Adhesive
When selecting an adhesive for a rear defroster repair or installation, the most important factor is high heat tolerance. The adhesive must maintain a strong bond in temperatures up to 212°F. With that in mind, here are the best options:
Silicone
Silicone adhesives are a top choice for defroster applications because they:
- Withstand temperatures from -75°F to 500°F when cured.
- Provide strong, flexible bonding power.
- Resist moisture, vibration, and shock.
- Are non-corrosive.
Look for a silicone formulated especially for auto glass repair. These one-part silicones cure at room temperature to a rubber-like consistency with excellent adhesive properties. They allow for fast drive-away time and hold well long-term.
Epoxy
Two-part epoxy adhesives are another suitable option, with the following advantages:
- Withstand sustained temperatures up to 350°F.
- Create an incredibly strong bond – often stronger than silicone.
- Resist chemical and environmental damage.
- Bond well to glass and metal.
As with silicone, choose an epoxy designed for auto and electronics assembly. These will be optimized for heat and vibration resistance. Allow proper cure time before attaching wiring.
Spray Adhesive
Heavy-duty spray adhesives can also work for rear defrosters. Look for a spray specially formulated for high-heat auto applications. Key advantages include:
- Ability to evenly coat defroster components.
- Quick drying time.
- Strong initial tack.
- Withstand temperatures up to 200°F+.
Apply spray adhesive in well-ventilated areas. Allow to fully cure before attaching wires.
Application Process
Follow these steps for proper defroster gluing:
- Clean – Wipe the rear window glass and defroster component with isopropyl alcohol to remove any oil, dirt, or debris.
- Prepare surfaces – Lightly scuff both bonding surfaces with fine sandpaper. This helps the adhesive grip.
- Apply adhesive – Spread a uniform layer of adhesive to both surfaces. Follow the product instructions for amount and application method.
- Assemble – Press the defroster component firmly onto the glass surface. Use a roller to apply even pressure and remove air bubbles.
- Clamp – Use clamps around the edges to hold the materials together as the adhesive initially cures.
- Cure – Allow the adhesive to fully cure according to specifications before attaching wiring or returning the vehicle to service.
Proper surface prep, adhesive selection, and installation technique will result in a durable, heat-resistant defroster bond.
Troubleshooting Poor Adhesion
If a rear defroster starts to separate from the glass, the issue is likely inadequate adhesion. Here is how to troubleshoot:
- Identify failure area – Locate where separation is occurring. Is it just in certain spots or widespread?
- Assess adhesive – Determine if incorrect adhesive was used or if proper application procedures were followed.
- Consider vibration/shock – Excessive vibration or impact can degrade the bond over time.
- Check for contamination – Oil, dirt, moisture, or residue can interfere with optimal bonding.
- Evaluate temperature factors – Frequent extreme temperature fluctuations can stress the adhesive over time.
Start by thoroughly cleaning the glass surface and assessing the adhesive itself. Heat-resistant silicone or epoxy specifically engineered for auto glass is recommended. Follow all adhesive specifications and re-prep surfaces if contamination occurred.
Conclusion
Rear defrosters require adhesives capable of maintaining a strong, flexible bond in high heat conditions. Silicone and epoxy designed for auto applications are top choices. Carefully follow surface prep, application, cure time, and installation procedures. This ensures the adhesive effectively withstands temperature extremes over years of use. With the right adhesive and technique, rear defrosters will function reliably throughout the vehicle’s life.