Page Contents
What is the purpose of applying polyurethane to a table top?
Polyurethane is a common finish used on wooden table tops for several reasons:
- It forms a protective barrier that prevents damage from spills, heat, scratches and dents.
- It helps prevent water rings and stains from absorbing into the wood.
- It provides a smooth and lustrous surface.
- It enhances and deepens the natural color and grain of the wood.
- It’s more durable and long-lasting than oil or wax finishes.
Applying a few coats of polyurethane to a table top will help maintain its beauty and extend its usable lifetime. It’s an ideal finish for dining tables, coffee tables, desks and other table tops that will see a lot of use. The protective seal makes the surface resistant to most household chemicals, foods and beverages.
What types of polyurethane are best for table tops?
There are a few different types of polyurethane to choose from when refinishing or protecting a wood table top:
Oil-based polyurethane
Oil-based polyurethane provides the most protection and longest-lasting finish. It forms a hard, durable plastic-like coating that resists scratches, heat, chemicals and water damage. Oil-based poly has a warm amber tone that enhances the look of natural wood grains. It requires mineral spirits for cleanup.
Water-based polyurethane
Water-based polyurethane has become more popular in recent years due to its low odor and easier soap and water cleanup. It provides good protection against water rings, spills and stains. The finish is slightly softer and less durable than oil-based. Water-based poly dries more quickly and has a crystal clear look that maintains the natural color of the wood.
Moisture-cured polyurethane
This single component polyurethane cures through a reaction with moisture in the air. It provides excellent durability, chemical and water resistance. The finish has an amber tone and smooth consistency. Moisture-cured polyurethane is ideal for use on wood table tops. It has a relatively long drying time.
Polycrylic
Polycrylic is a water-based protective clear coat that can be used on wood, metal and a variety of surfaces. It dries faster than traditional polyurethane with very low odor. The finish is crystal clear, enhancing natural wood grains. Polycrylic forms a durable, protective barrier that resists household chemicals, water, heat and scratching. It can be used for light duty protection on table tops.
How to choose the right type of polyurethane finish
Here are some tips on selecting the best polyurethane for your specific table top project:
- Oil-based poly – Best for stain or colored finishes you want to preserve and enrich. Provides the most durable, protective top coat.
- Water-based poly – Ideal if you want a crystal clear finish that doesn’t yellow over time. Faster drying and easier cleanup.
- Moisture-cured poly – Great choice for a durable, protective finish on wood tables. Has an amber tone.
- Polycrylic – Water-based option good for light use on dining tables. Crystal clear finish.
- Satin vs. gloss – Satin is a popular finish for tables. Minimizes the appearance of small scratches/imperfections. Gloss provides maximum shine.
- Interior vs. exterior – Use an exterior polyurethane formula if the table will be used outdoors.
Test different polyurethanes on scrap wood to see the finish results before applying it to your table top. Read the manufacturer’s instructions carefully. With proper application and drying time, polyurethane will provide the best protection for a wood table top.
Step-by-step instructions for applying polyurethane
Follow these steps for a smooth, professional polyurethane finish on your table top:
- Sand the table – Sand the table top thoroughly with 120, 150 and finally 220 grit sandpaper. Always sand with the grain.
- Remove dust – Wipe and vacuum away all dust. Tack cloth the surface to remove any remaining dust particles.
- Apply stain/dye – If desired, apply a stain or dye and let it fully dry as directed.
- Apply sealant – For oil-based poly, first apply a thin sealant coat thinned with mineral spirits. Let dry overnight.
- Lightly sand – Gently sand the surface with 220 grit paper to ensure smoothness.
- Apply polyurethane – Apply 2-3 coats of poly, sanding lightly between coats. Allow proper drying time between coats.
- Sand again – After final coat has dried 48 hours, lightly sand surface with 220 grit sandpaper.
- Apply last coat – Apply a final thin coat of polyurethane. Allow to fully cure 72 hours before use.
Always read and follow the manufacturer’s directions for application amounts, drying times, sanding, cleanup and precautions when using polyurethane or any wood finish. Proper preparation, application and drying will result in a smooth, durable finish.
Tips for applying polyurethane
Here are some helpful tips to get great results when applying polyurethane:
- Work in a clean, dust-free area.
- Maintain a wet edge as you apply polyurethane.
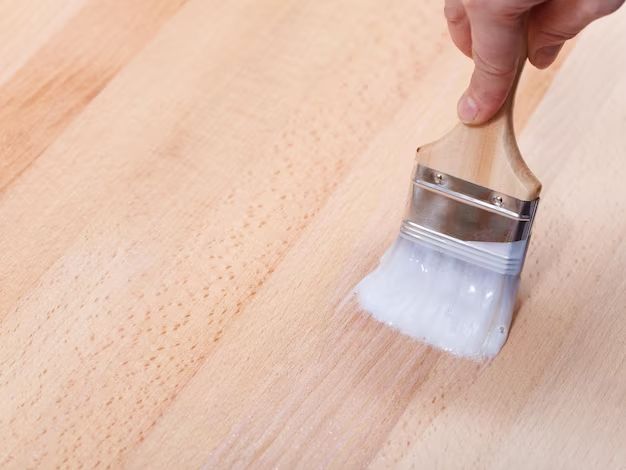
- Apply thin, even coats using a good quality natural bristle brush.
- Always sand lightly between coats.
- Allow proper drying times between coats.
- For the final coat, apply a thin, even coat and allow 72 hours of curing time.
- Consider using tack cloth after sanding to remove any dust particles.
- Stir polyurethane carefully before and during use.
Applying thin coats, allowing proper drying time, sanding between coats and maintaining cleanliness will help achieve professional results. Read the product directions closely and follow all safety precautions when using polyurethane finishes.
Common mistakes to avoid
It’s easy to make mistakes when applying polyurethane that can ruin the finish. Here are some common errors to avoid:
- Not properly preparing the wood surface – Ensure the wood is smooth, clean and dry first.
- Shaking or stirring polyurethane vigorously – This creates bubbles in the finish.
- Applying too thick of a coat – Thin coats provide the best results.
- Not sanding between coats – Light sanding ensures proper adhesion between coats.
- Applying coats too close together – Follow manufacturer’s drying time directions.
- Working in a dusty area – Dust particles will get trapped in the finish.
- Not applying along the wood grain – Brush parallel with the grain for best results.
- Not allowing adequate curing time – Curing takes 72+ hours before use.
Avoiding these common mistakes, following all directions and applying thin coats will help ensure your polyurethane finish turns out smooth and professional looking.
Conclusion
Applying a protective polyurethane finish can help maintain the beauty and durability of a wood table top for years. Oil-based and water-based polyurethanes are good options that resist damage from spills, scratches and household use when applied properly. Follow the steps for surface preparation, application of thin coats, proper drying times and careful sanding between coats. Avoid common mistakes like applying the finish too thick or working in a dusty area. With some patience and these helpful tips, you can achieve beautiful, long-lasting results. Polyurethane is an ideal finish to protect and enhance a wood dining table, desk or other table top surface.