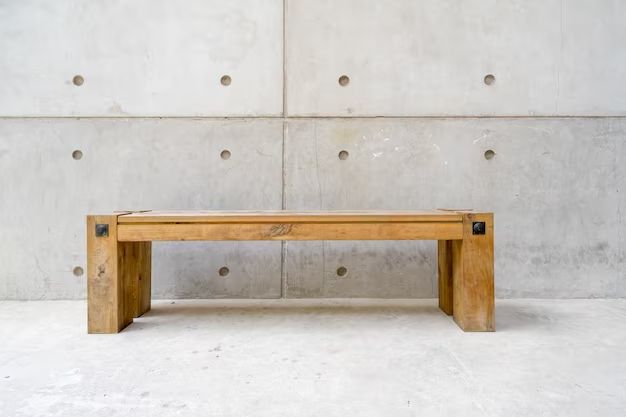
Building a storage bench is a great way to add extra seating and storage space to any room in your home. With some basic DIY skills and the right materials, you can create a functional and stylish storage bench suited to your needs. In this article, we’ll go over the key materials needed and steps involved in constructing a basic storage bench from scratch.
The main components involved in building a storage bench are:
- Wood
- Hardware (hinges, screws, nails, etc.)
- Cushion/padding
- Upholstery fabric
- Storage bins or boxes (optional)
Let’s look at each of these materials in more detail and discuss the options available when selecting supplies for your storage bench project.
Page Contents
Selecting the Wood
The type of wood you choose for your storage bench will impact its cost, structural integrity, weight, and finished look. Here are some of the most common wood options to consider:
- Plywood – Plywood is made by gluing together thin sheets of wood. It’s a budget-friendly option that’s stable and easy to work with. The ply construction helps prevent warping or cracking. Look for cabinet or furniture grade plywood that has few blemishes on the outer veneers.
- Solid wood – Hardwoods like oak, maple, walnut, or mahogany have an attractive grain pattern and solid feel. However, solid woods are more expensive and can warp over time if not properly sealed. Opt for kiln-dried lumber with a moisture content of 6-8%.
- MDF – Medium density fiberboard (MDF) is an engineered wood product made by combining wood fibers with wax and resin. It machines well but is heavy and lacks the natural beauty of solid wood. MDF does not handle moisture well but works for painted projects.
- Pine – Pine is an affordable softwood that’s lightweight and easy to cut. Use higher quality pine boards that are knot-free and free of major defects. Pine has a distinctive grain pattern but is prone to dents and scratches.
For most storage bench projects, high quality plywood or solid wood boards would be suitable options. The final choice depends on the specific design, weight requirements, and budget for the project.
Hardware and Supplies
In addition to the main wood boards, you’ll need various hardware and supplies to join the wood pieces together and complete the bench:
- Wood glue – Non-toxic polyurethane wood glue offers a strong flexible bond for joining wood. Allow adequate clamping time as specified on the product instructions.
- Screws and nails – These fasteners join the components together. Use exterior-grade screws that are 1.5-2 inches long. Nails should be galvanized for durability.
- Hinges – Look for sturdy lid stays or hinges rated for the weight of the bench lid. Brass or stainless steel hinges are corrosion resistant.
- Handles or knobs – Handles help lift the hinged lid up easily. Matte black iron handles suit most styles.
- Tools – You’ll need basic tools like a saw, drill, hammer, sandpaper, tape measure, safety glasses and clamps.
Make sure to get the exact quantities needed as you finalize the bench design and cut list. Getting the right hardware from the start minimizes errors and rework down the line.
Cushion and Upholstery
The cushioning and fabric covering determine the bench’s comfort and appearance. Some aspects to factor in your selection:
- Cushion fill – Polyurethane foam sheets or cut-to-fit foam cushions provide firm yet comfortable support. Choose a density suitable for seating.
- Cushion wrap – Encase foam in Dacron to prevent lumping and shifting. Use cotton batting to create a puffy look.
- Upholstery fabric – Look for durable, stain-resistant fabrics like canvas, microsuede, twill or cotton. Calculate required yardage based on pattern size.
- Staple gun – A heavy duty staple gun simplifies attaching fabric and cushions to the wood frame.
Make sure to coordinate the thickness of foam and fabric with the benchdimensions to ensure a snug fit. Box or T-cushions with separate seat and back pads allow for easier construction.
Storage Bins
Adding enclosed storage bins lets you conceal items within the bench cavity neatly. Some bin options include:
- Plastic storage containers
- Cloth drawer organizers
- Woven baskets
- Cardboard boxes
The containers can be left unfinished or covered in fabric to match the rest of the bench. Allow for at least 1 inch of clearance all around the bins for easy insertion and removal. Include hand holds cut into the bins or lid for easy access.
Step-by-Step Building Process
Now that we’ve covered the major material components, let’s go through the key steps involved in actually building a basic bench:
- Cut wood boards to required dimensions using a circular saw. Follow your cut list and bench plans.
- Sand boards until smooth; clean off dust.
- Join wood boards together with glue and screws/nails to form the side, back, seat, and lid frames.
- Attach hinges to lid and sides using manufacturer instructions.
- Add handles or knobs for lid.
- Apply wood finish if desired.
- Measure, cut and attach foam cushioning using staple gun.
- Cut fabric to size; staple fabric to underside of lid and bench frames.
- Place storage bins inside cavity and test lid operation.
- Add back cushions attached via buttons, ties or Velcro.
Follow all safety practices when operating power tools and handling adhesives/finishes. Allow full cure times for glues and finishes before using bench. Add edge banding for a finished look.
Conclusion
Building your own storage bench is a rewarding weekend woodworking project that can add function and flair to your living space. The essential materials needed include wood boards, hardware for joining, hinges, foam and upholstery fabric for cushions, plus optional storage bins. With some careful planning upfront and by following basic step-by-step construction tips, you can create a customized bench tuned to your storage needs and style. Check your work as you go for a professional-looking finished result.
