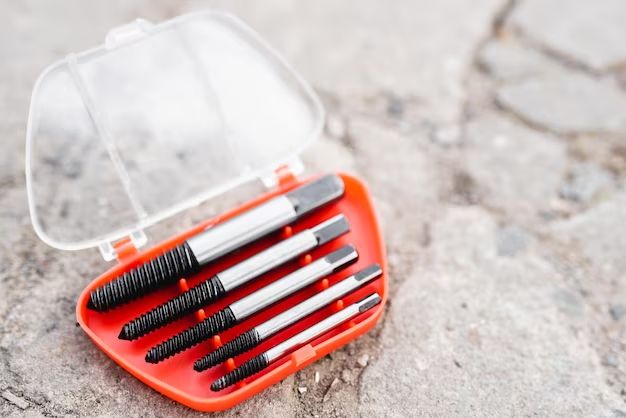
Screw extractors are handy tools for removing broken or stripped screws. However, screw extractors themselves can break during use. When this happens, it can be frustrating trying to remove the remaining fragments of the broken screw extractor tip lodged in the screw hole.
Luckily, there are several steps you can take to remove a broken screw extractor and the underlying screw. With some persistence and the right techniques, you can usually salvage the situation.
Page Contents
Assess the Damage
First, inspect the damage to understand the nature of the break. Did just the very tip of the extractor snap off? Or did it break farther down the shaft? The more of the screw extractor still lodged in the hole, the more difficult it will be to remove.
Also check the condition of the screw itself. If the screw is already partially drilled out or mangled, that will make extracting it harder. Ideally the screw will still be relatively intact except for the stripping of the head.
Remove Extractor Remnants
Next, you need to remove any portion of the broken screw extractor still stuck in the hole. Start by trying to wiggle it loose with pliers. Grip whatever part of the extractor is still protruding and rock it back and forth. With luck, this twisting motion will dislodge the broken bit.
If the extractor piece doesn’t come free with simple wiggling, you can try gripping it very tightly with locking pliers or a vice grip. Retighten the pliers if needed and repeat the back-and-forth twisting motion. The constant tight grip can help “walk” the part out as you twist.
Be careful not to snap off the protruding portion of the extractor as you try to wiggle it free. If you do break the remnant flush with the surface, it becomes much harder to remove.
Other Removal Methods
If the screw extractor just spins in place but won’t come out, here are some other tactics to try:
- Use an awl or drill bit smaller than the extractor to drill it out.
- Carefully grind away the extractor with a rotary tool and small grinding wheel.
- Glue a nut or other metal object to the top of the remnant with epoxy, allowing you to grip and turn it.
Take it slow with these removal methods to avoid damaging the screw hole. With patience, you can usually coax out the broken bit without harming the threads.
Extract the Original Screw
Once the extractor remnant is out, you still need to deal with removing the original screw. This screw probably has some level of damage at this point, either from the stripping/rounding that necessitated the extractor or from drilling done to remove the extractor.
First, examine the screw head and try a regular flathead or Phillips screwdriver to turn out the screw. If the head is too damaged for this, try gripping the perimeter of the head with locking pliers or a vice grip. Slow steady torque in the counterclockwise direction may still back out the screw.
More Options for Stubborn Screws
If simple unscrewing fails, here are a few other ideas for extracting damaged screws:
- Use a Dremel or other rotary tool to carefully grind a new slot in the screw head, allowing you to unscrew it with a flathead screwdriver.
- Drill into the screw with a drill bit, then insert a specialty screw extractor into the hole and turn counterclockwise.
- Glue the screw in place so it can’t spin, then unscrew the object it is threaded into.
These techniques require care to avoid ruining the screw hole. The key is using just enough force to extract the screw while minimizing further damage.
Replace the Screw
With the original screw removed, inspect the hole carefully. If the screw threads are still in decent shape, you can simply replace with a new screw of the same size. First run a tap through the hole to clean out any debris and restore the threads.
If re-threading fails or the hole is too damaged, you may need to install a threaded insert. Place this insert in the existing hole and secure it with screws driven into the surrounding material. The insert will provide new robust threads to accept a replacement screw.
Here is a quick table summarizing the key steps in dealing with a broken screw extractor:
| Step | Approach |
|---|---|
| 1 | Assess damage and condition of screw |
| 2 | Remove broken extractor bit |
| 3 | Extract original screw |
| 4 | Replace screw or install insert |
Preventing Broken Extractors
While not fun to deal with, broken screw extractors don’t have to spell disaster. With patience and care, you can usually salvage the situation.
However, it’s wise to take steps to prevent breaking an extractor in the first place. Here are some tips:
- Use extractors only when necessary, on truly damaged screws.
- Select an extractor bit that fits snugly in the screw head.
- Run the extractor at an appropriate speed, not too fast.
- Apply downward pressure when drilling but ease off if you meet too much resistance.
- Frequently back the extractor out to clear debris.
Following this advice will help ensure your screw extractor does its job without failing. And if one does break despite your best efforts, now you know how to remove the broken extractor and stuck screw.
Conclusion
Dealing with a broken screw extractor requires determination but is usually not an impossible task. First wiggle out any portion still stuck in the hole. Then use whatever method is effective to extract the original screw, whether simply unscrewing it, grinding a new slot, or drilling it out.
Avoid making new threads unless absolutely necessary. With care, in most cases you can rescue the original screw hole once the broken extractor is removed. A bit of perseverance and technique allows you to prevail over the stubborn broken screw.
