Page Contents
Quick Overview
When a breaker switch trips repeatedly or won’t stay in the on position, it usually indicates a larger electrical issue that needs attention. The most common causes include overloading the circuit, a short circuit or ground fault, a loose wire connection, or a defective breaker. Trying to force the breaker on can damage it further and is extremely dangerous with live electricity. This article covers the main troubleshooting steps to isolate the root cause, when to call an electrician immediately, and how to properly replace a faulty breaker. Quick actions like reducing the load on the circuit can provide a temporary fix, but the underlying problem should still be corrected. With some basic safety precautions, inspecting the panel and wiring yourself is doable, but be ready to call a professional if the problem persists or exceeds your skill level.
Common Causes of a Breaker Tripping Repeatedly
There are several possible reasons why a circuit breaker refuses to stay on:
Overload: Too many devices, appliances, or equipment drawing power through the circuit causes it to overheat and trip the breaker. High-wattage appliances like space heaters, air conditioners, and hair dryers are common culprits, as are overloaded outlets via power strips or extension cords.
Short Circuit: Direct contact between a live wire and a neutral or grounded wire creates a short that instantly overloads the circuit. This very dangerous situation can occur due to damaged wire insulation, cords, or devices.
Ground Fault: When electricity leaks through damaged insulation and takes an unintended path to the ground, the breaker will trip to cut power and prevent potential shocks. Moisture, damaged cords, and wiring issues can cause ground faults.
Loose Connection: If a hot wire connection at the breaker or anywhere in the circuit wiring is loose, it may intermittently overload the circuit causing heat buildup and tripping. Loose terminals or junction points are often to blame.
Defective Breaker: The breaker itself may be malfunctioning mechanically or electrically, no longer protecting the circuit properly. Older breakers are susceptible to mechanical wear, corrosion, and heat damage.
Emergency Situations Requiring an Electrician
While many tripped breaker issues can be DIY troubleshooting projects, there are some scenarios where you should immediately stop and call a licensed electrician:
– You smell burning plastic or smoke coming from the breaker panel or outlets. This often indicates dangerous overheating of wires or insulation.
– Multiple breakers are tripping with no obvious cause. Something may be wrong with the main electrical service panel, not just individual circuits.
– Water entered the breaker panel or any outlets. Never try to reset breakers that may have gotten wet or touch outlets standing in water.
– You have recurring ground fault trips with no identifiable cause. The site of the fault may be buried behind walls and difficult to trace.
– The breaker handle or panel cover is damaged, broken, or won’t close properly. This exposes live parts.
– You lack the proper testing equipment and PPE to work safely with live electrical.
– Any evidence of blackened, melted, or charred wires. This points to extremely dangerous overheating conditions.
– The building’s electrical system is very old, improperly modified, or incorrectly sized for the current loads.
When in doubt, call a professional. Attempting electrical repairs beyond your skill level can result in severe injuries or fires.
How to Troubleshoot and Reset a Tripped Breaker
If there are no clear red flags like those above, here are the general steps for diagnosing and resetting tripped breaker issues safely:
1. Identify which breaker controls the problem circuit and switch it to OFF.
2. Unplug appliances and switch off lights on the circuit to remove the load.
3. Inspect the breaker for damage before flipping it back ON. It should easily switch between positions. If not, it likely needs replacement.
4. Flip breaker ON and leave circuit unloaded to test if trips again. If so, a direct short is likely. Call an electrician.
5. Plug in and switch on appliances one-by-one, waiting several minutes between each. If tripping recurs at a certain load, the circuit is overloaded. Consider redistributing devices to other circuits.
6. Check all receptacles on the circuit for loose, overheated, or discolored connections, as well as scorch marks indicating shorts.
7. Inspect the insulation on all wires and devices along the circuit for damage. Look for any exposed copper at connections.
8. Check for loose breakers or terminals in the main panel, feeling for warm spots at connections. Tighten as needed, but do not overtighten.
9. Consider replacing the breaker if older than 10 years or still trips with all loads removed from the circuit. Match amp and voltage ratings exactly.
10. Call an electrician if the breaker continues to trip after all of the above steps. There may be a hidden electrical fault in the walls, at difficult to reach junction points, or within multi-wire circuits.
Working with live AC power always carries some risk, so proceed cautiously. Use insulated tools, wear PPE like gloves and eye protection, and work only on deenergized circuits whenever possible.
Temporary Fixes and Workarounds
While diagnosing and resolving the root cause of a recurring breaker issue is ideal, there are some temporary fixes and workarounds to restore power quickly:
– Redistribute load by plugging appliances into other circuits and outlets as able.
– Avoid using high-draw appliances like hair dryers, portable heaters, or window ACs on the problem circuit until repaired.
– Plug equipment into power strips with integrated circuit breakers as a secondary line of defense to overload.
– For critical equipment on the affected circuit, use a UPS (uninterruptible power supply) device to temporarily ride through outages.
– If the breaker controls lighting circuits, switch out some incandescent bulbs for lower-wattage LEDs to reduce load.
– Turn off secondary pieces of equipment and lighting when operating high-load appliances on the same circuit.
– Operate washers, dryers, microwaves, and other cyclical loads at separate times than continuous loads like refrigerators.
– Limit use of extension cords which can create voltage drops and overload if undersized. Use rated surge protectors instead.
– Check that extension cord plugs are fully inserted and retainers are engaged if used temporarily.
– Plug appliances into different outlets to help isolate problem areas along the circuit wiring.
– Have someone qualified inspect and service the electrical panel to identify and tighten loose connections.
None of these workarounds fix the true problem, but they can buy you time until repairs can be made. The key is reducing the overall load on the faulty circuit.
When to Replace a Breaker
Replacing a aging or damaged breaker is relatively straightforward. Good cases for breaker replacement include:
– Repeated tripping at less than 80% of the rated amperage, even with minimal load.
– The breaker feels hot to the touch frequently even without tripping.
– The breaker switch does not move smoothly between On and Off. It sticks in a position.
– Evidence of blackened or melted internal components inside the breaker case.
– The breaker faceplate or handle is cracked, broken, or corroded.
– No trip when overload is forced or failure to shutoff power.
– The breaker is very old, likely over 10 years. Newer AFCI and GFCI breakers are recommended.
– The breaker brand is an off-brand or on the recall list of poor quality units. Stick with established brands like Eaton, Square D, or Siemens.
When shopping for a replacement, match the amperage, voltage, number of poles, and interrupting rating exactly. The breaker must be compatible with the panel manufacturer too. Adding a GFCI or AFCI breaker for older circuits is wise for added safety, if the panel supports them. Follow local codes and permit requirements if replacing multiple breakers or upgrading an entire panel.
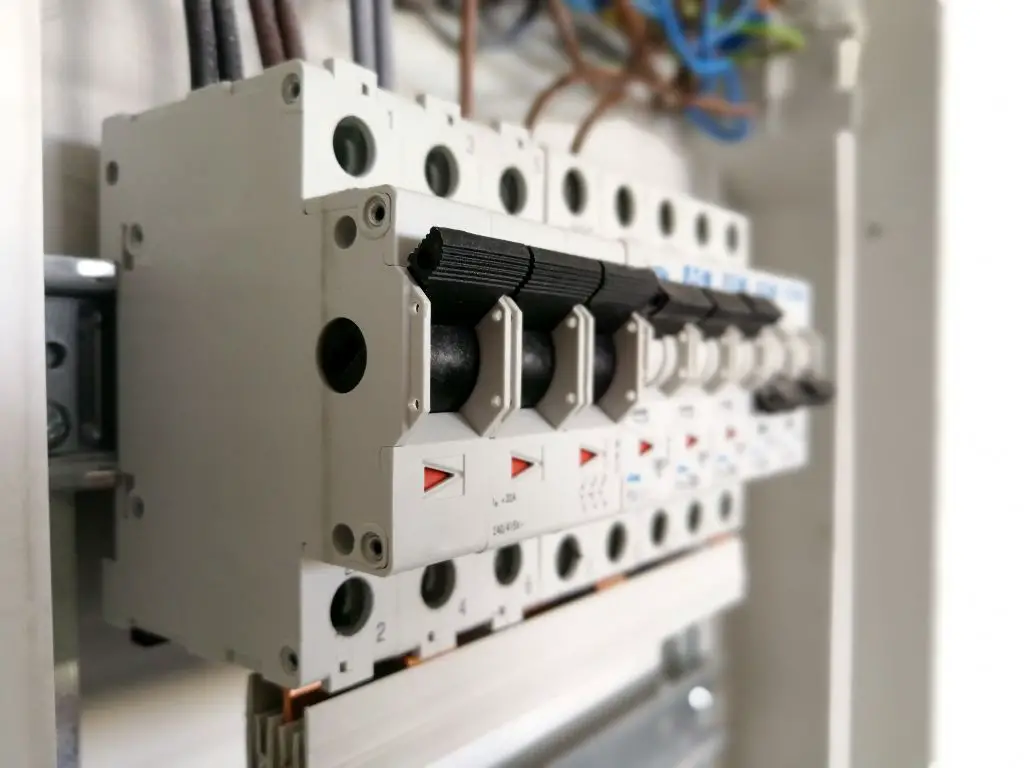
How to Safely Replace a Breaker Yourself
Always exercise caution and follow these steps when replacing a breaker:
1. Switch off the main breaker or pull the main fuse to de-energize the panel before working.
2. Test for power using a non-contact voltage tester.
3. Remove the panel cover plate screws and set the cover aside.
4. Note which wires connect to the old breaker and where they run in the panel. Take photos if needed.
5. Disconnect the wires from the faulty breaker and unscrew it from the panel.
6. Install the new breaker in the same spot, matching the amperage of the old. Screw it in tightly.
7. Reconnect the wires properly to the new breaker, ensuring tight connections.
8. Double check that the wire connections are on the correct breaker terminals.
9. Close the panel cover, secure it with the retaining screws, and turn the main breaker on.
10. At the switch, toggle the replacement breaker Off and back On to ensure proper operation.
11. Test GFCIs and AFCIs using their test buttons if installed. Verify they trip properly.
12. Turn on appliances one-by-one to check for any signs of problems.
Conclusion
Persistent tripped breakers and circuits that won’t hold power point to underlying electrical faults that require troubleshooting and correction. Start by isolating the issue through process of elimination. Overloads, shorts, and ground faults make up the majority of causes. Replace defective breakers once the true problem is found. Temporary workarounds like load redistribution can buy time but the root issue still needs repair, often requiring an electrician for complex faults. With some basic DIY inspection and maintenance, residential breaker panels can serve homes safely for decades. But call in the experts when problems exceed your skills or comfort with electricity.