When it comes to installing batt insulation in homes or buildings, having the right tool for cutting the batts is crucial for getting a proper fit and maximizing energy efficiency. The most common tool used by insulation professionals to cut batt insulation is an insulation knife.
Page Contents
What is an Insulation Knife?
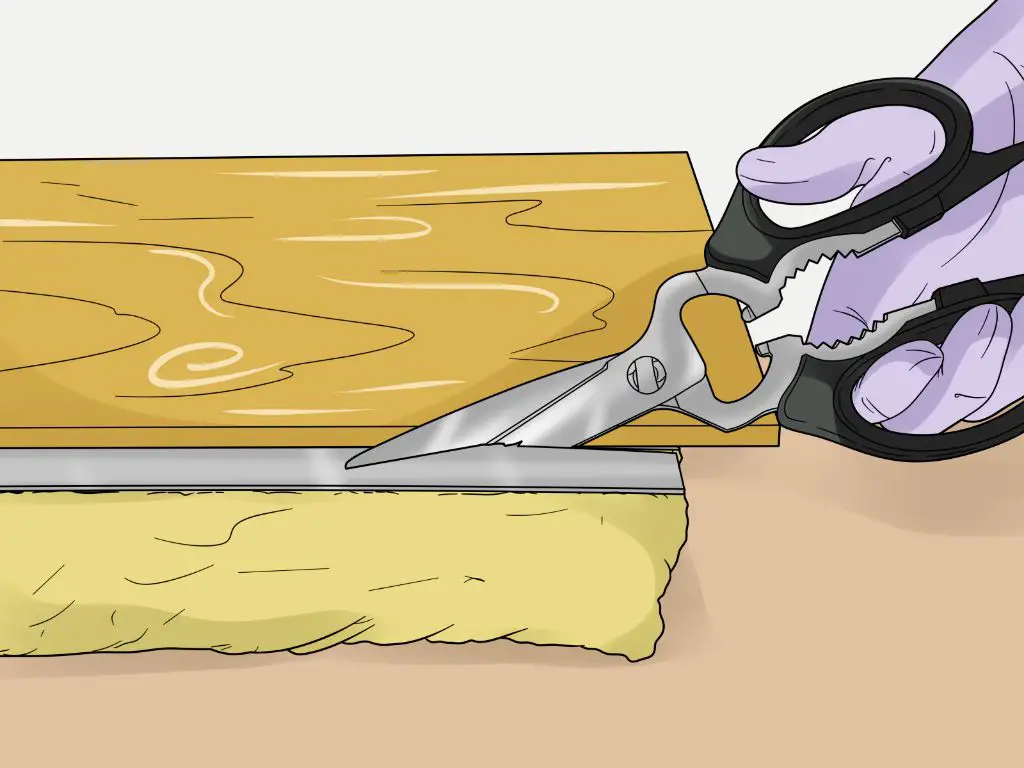
An insulation knife is a specialized tool designed specifically for cutting various types of insulation materials, especially fiberglass batt insulation. It consists of a sharp blade that is attached to a handle that allows for safe and easy handling. The blade on an insulation knife is typically very long, ranging from 8 inches to 15 inches in length. This allows the user to make long, continuous cuts through thick batts of insulation in one pass.
Insulation knives will have a very sharp edge and may be serrated to help grab and cut through the insulation. The tips are pointed to allow for puncturing through the facing on batt insulation and starting a cut. Insulation knives are most commonly made from hardened steel so that they can maintain a sharp edge and stand up to repeated use.
The handles on insulation knives are made from durable materials like wood, plastic, or rubber and are optimized for comfort and grip during use. Many models may have a hook or notch on the end opposite the blade that can be used to grab and maneuver insulation batts into place.
Advantages of Using an Insulation Knife
There are a few key advantages to using an insulation knife over more general-purpose knives or tools:
- Purpose-built for insulation – Insulation knives are designed to easily glide through and cut batt, board, and other types of insulation.
- Easier handling – The long blade and ergonomic handles make extended cutting of large insulation pieces much easier.
- Cleaner cuts – The sharp blades provide smooth, clean cuts rather than ragged or shredded edges.
- Safer to use – Insulation knives allow the user to keep hands safely away from the blades during use.
- Durable construction – Made to stand up to repeated and extended use without frequent sharpening or replacement.
- Affordable price – Insulation knives are relatively inexpensive compared to the value they provide.
For professional installers putting in large amounts of insulation, having a tool that can speed up the cutting process and provide clean edges ends up saving significant time and producing better results.
Types of Insulation Knives
There are a few different types and styles of specialty insulation knives that may be better suited to certain insulation cutting tasks:
Standard Insulation Knives
The most common type is a standard insulation knife which has a fixed blade around 8 to 10 inches long. The straight blades allow for cutting long straight sections of batt insulation. Various handle styles are available from basic scales to larger grips.
Retractable Blade Knives
Retractable insulation knives provide the convenience of being able to expose the blade only when needed. This helps keep the blade protected when not in use. The retractable blades make them safer for storage and transport as well.
Curved Blade Knives
For added versatility, curved blade insulation knives allow for cutting curved sections of insulation for pipes or circular ductwork. The curved blades facilitate following a contour line.
Serrated Insulation Knives
Insulation knives with serrated edges on the blade help grab and cut through denser types of insulation including rigid polystyrene foam boards. The small teeth on the blade leave a cleaner edge.
Offset Handle Insulation Knives
For extended comfort during cutting, offset handle insulation knives have the grip set at an angle from the blade instead of in-line. This can reduce wrist fatigue by allowing a more natural cutting motion.
How to Use an Insulation Knife
Cutting insulation with an insulation knife is a quick and easy process, especially for straight sections. Here is a simple step-by-step guide:
- Measure and mark the insulation material to the desired size. Include an allowance for the thickness of the blade.
- Lay the insulation on a flat, stable surface if possible.
- Line up the knife edge with the cut line and hold firmly in place.
- Apply gentle downward pressure on the knife while pulling the blade through the insulation in a continuous motion.
- For thick or high-density insulation, saw the knife back and forth while pushing it forward through the insulation.
- Repeat as needed to cut all the way through the insulation to the measured size.
- Pull the knife all the way out carefully when finished with the cut.
For curved cuts, gradually guide the blade around the curve while applying pressure and cutting in a smooth, controlled motion. Maintaining the tip pressed into the insulation can help guide curved cuts. Use a retractable knife to safely expose and cover the blade when not actively cutting.
Insulation Knife Safety
Like any sharp tool, insulation knives require some basic safety precautions:
- Wear work gloves while using the knife to protect hands and improve grip.
- Pull the knife towards you when cutting to avoid slips.
- Keep hands and body parts clear of the direction of the cut.
- Ensure nobody else is within range of the cutting motion.
- Do not try to catch a dropped knife and let it fall to the ground.
- Use a knife blade cover when not in use and passing the tool to others.
- Replace dull blades to prevent accidents from excessive force.
- Store properly when finished, never leaving unattended in work areas.
Always use extreme care when handling and cutting with exposed knife blades.
Insulation Knife vs Utility Knife
A standard utility or carpet knife is another common tool for cutting insulation that many homeowners or DIYers may already have on hand. However, there are some disadvantages to using a utility knife compared to a true insulation knife:
| Insulation Knife | Utility Knife |
|---|---|
| Long blade can make complete cuts in one pass | Shorter blade requires multiple passes |
| Thicker, sturdier blade resists bending | Thinner blades bend easier |
| Angled tip easily pierces facing | Pointed tip not optimized for starting cuts |
| Grip and handle designed to reduce fatigue | Standard handle can be prone to slipping |
| Purpose-made for insulation | General light duty utility use |
For occasional small insulation cutting jobs, a utility knife can get the job done. But for frequent large-scale insulation cutting, using the right insulation knife is worthwhile.
Insulation Knife Maintenance
Like all cutting tools, keeping the blades on insulation knives properly sharpened and maintained will allow them to work better and last longer. Here are some tips for caring for insulation knives:
- Inspect blades for any chips, gouges or damage before each use.
- Sharpen the blades regularly with a sharpening stone.
- Use a knife cleaner or sharpening solution to remove built up residue.
- Wipe blades down with a lightly oiled cloth after use to prevent corrosion.
- Check screws and rivets for tightness.
- Replace any loose, worn, or damaged handles or grips.
- Store the knives in sheaths or protective covers when not in use.
Well-maintained insulation knives can deliver years of trouble-free use. It is much safer to use a sharp, undamaged blade than trying to force a dull or worn-out knife through tough insulation.
Conclusion
Insulation knives are purpose-designed tools that make cutting batt insulation easier, faster and safer compared to general utility knives. Their long, sharp blades, ergonomic handles and durability provide noticeable benefits for anyone who frequently installs batt insulation. Taking proper care of insulation knives with regular cleaning, sharpening, and blade replacement will keep them performing like new. For clean, professional insulation cuts, insulation knives are the go-to cutting tool.