Changing a spark plug is a relatively straightforward job that most DIYers can tackle at home. However, having the right tools for the task will make the process much easier. Here’s a look at the basic tools you’ll need to successfully change your spark plugs.
Page Contents
Spark Plug Socket
The most important tool you’ll need is a spark plug socket. This is a special socket with a rubber insert inside that grips the spark plug so you can unscrew it from the cylinder head. Spark plug sockets come in different sizes to fit different spark plugs, so you’ll need to use the one matched for your vehicle’s plugs.
You’ll also need a ratcheting wrench or breaker bar to use with the spark plug socket. The long handle provides extra leverage for loosening up stubborn plugs that may be stuck from carbon deposits after years of use.
Spark Plug Gap Tool
Before installing your new spark plugs, you’ll want to check and adjust the gap using a spark plug gap tool. This looks like a round metal disk with different sized openings around the edges. You’ll match the plug’s gap with the appropriate opening in the tool.
Setting the gap properly ensures your engine will run at peak performance. Refer to your owner’s manual for the required gap spec for your vehicle’s plugs.
Torque Wrench
When installing the new plugs, use a torque wrench to tighten them to the proper torque spec. Overtightening can damage the threads in the cylinder head, so a torque wrench is recommended to get it right.
Again, check your manual for the specific torque rating. The torque wrench allows you to carefully tighten to the precise torque your engine requires.
Spark Plug Anti-Seize Compound
You’ll also want some anti-seize lubricant designed specifically for spark plugs. Put just a small amount on the threads before installing them in the cylinder head. This ensures the plugs don’t corrode and “weld” themselves to the head, making removal much more difficult later on.
Plug Wire Removal Tool
If your vehicle has individual ignition wires going to each spark plug, you may find a plug wire removal tool handy. This tool grips and twists the boot on the wire so you can detach it from the plug. Just pull on the wire with your hands can sometimes damage the boot.
Safety Equipment
And of course, you’ll want some basic safety gear when working under the hood, like protective gloves and eyewear. Be sure to let the engine cool completely before attempting to remove any spark plugs to avoid burns.
Other Helpful Tools
Here are a few other tools that can help make changing your spark plugs easier:
- Flashlight – To see down into the plug recesses
- Mirror – For viewing hard to see areas
- Magnet – For retrieving dropped tools or parts
- Cleaning solvent/degreaser – For cleaning up after the job
- Rags – For wiping off components
- Spark plug thread chaser – Restores threads if damaged
How to Change Spark Plugs
Now that you know which tools you’ll need, here are the basic steps for changing spark plugs yourself:
- Disconnect the negative battery cable to avoid an accidental electric shock.
- Remove any engine covers to access the spark plugs.
- Clean the area around the spark plugs to prevent debris falling in.
- Remove the ignition coil pack if your vehicle has coil over plugs.
- Remove the spark plug wires one at a time using your plug wire tool.
- Fit the spark plug socket over the plug and loosen it using your wrench/breaker bar.
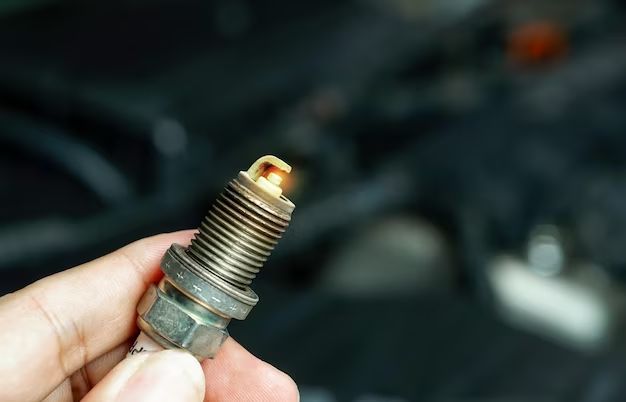
- Pull the plug out and inspect its condition.
- Set the gap on the new plugs using your gap tool.
- Apply a small amount of anti-seize lubricant to the plug’s threads.
- Thread in the new plug by hand until snug.
- Use the torque wrench to tighten to the specified torque setting.
- Reinstall wires, coil packs, and engine covers.
- Reconnect battery and start engine to check for normal operation.
Conclusion
With the right tools and a methodical approach, most car owners can tackle a spark plug change on their own. Just be sure to follow all safety precautions, take your time, and refer to your vehicle repair manual for the specifics on your make and model. Or if you don’t feel up to the task, always consult a professional mechanic.