Having issues with trailer running lights not functioning properly can be extremely frustrating. When hooking up a trailer, you expect all of the lights to be operational for safety on the road. However, there are a number of potential causes to trailer lighting malfunctions. In this comprehensive guide, we will explore the various reasons trailer lights may not be working and provide troubleshooting tips to get them functioning again. Having properly working trailer lights is crucial for safe towing, so read on to learn about what could be causing problems and how to fix them.
Page Contents
Common Causes of Trailer Lighting Issues
There are a variety of reasons why trailer lights may not be illuminating as expected. Here are some of the most common culprits:
Faulty Wiring
One of the most likely reasons trailer lights are not working is an issue with the wiring itself. There are many feet of wiring running throughout the trailer system. Over time, wires can become damaged due to normal wear and tear as well as exposure to weather elements. Fraying, corrosion, and loose connections are all common wiring problems that can cause a loss of light function. Carefully inspect the condition of all wires and their connections when troubleshooting trailer lighting issues. Damaged wires will need to be repaired or replaced.
Blown Fuse
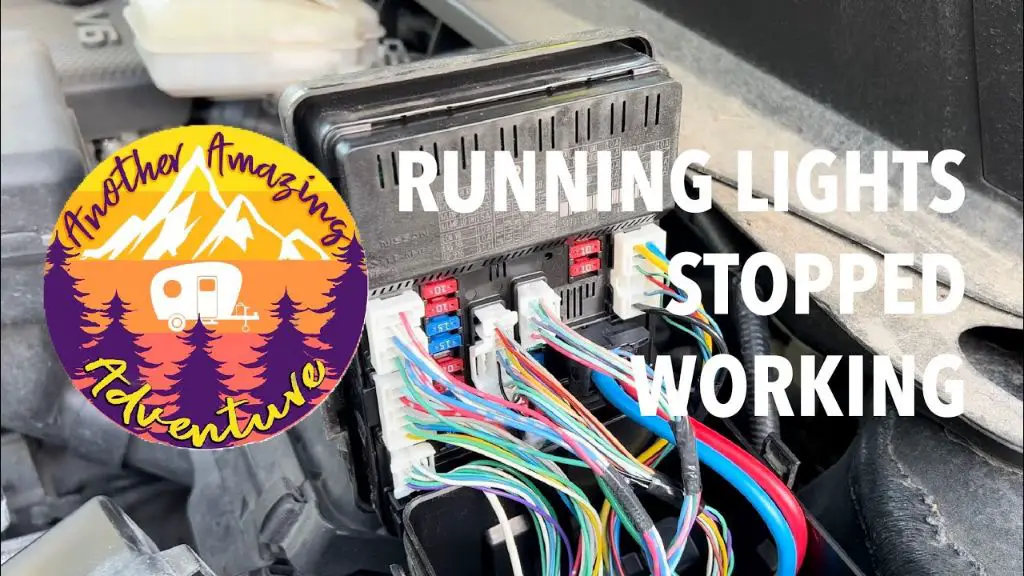
All trailer lighting runs through fuses that are designed to short circuit in case of power surges or overloads. If too many lights are on at once or there are exposed wires causing shorts, the fuse may blow. This will cause all trailer lights to stop working until the fuse is replaced. Fuses can blow for no apparent reason as well, so this is one of the first things to check when lights go out. The fuse box is typically located on the tongue of the trailer near the hitch.
Faulty Ground Connection
Trailer lights rely on proper grounding through the hitch to complete the electrical circuit. Corrosion or damage at the connection point between the trailer and vehicle can disrupt this ground. Lights may function intermittently or only on one side if there is a bad ground. Cleaning contact points thoroughly with sandpaper or an abrasive pad may help restore connectivity.
Bad Breakaway Switch
Trailers are equipped with a breakaway switch near the hitch that activates emergency lighting if the trailer separates from the vehicle. This switch relies on a small battery to operate. If the battery dies or the switch malfunctions, it can potentially cause all of the trailer lights to stop working. Test or replace the breakaway switch if lighting issues arise.
Faulty Lights
Sometimes the problem is as simple as burned out bulbs or malfunctioning lighting fixtures. Cargo trailers with incandescent lights are prone to shattering due to road vibrations. LED lights can also fail over time. Inspect each light individually and replace any bulbs or fixtures not working properly.
Bad Trailer Wiring Harness
The wiring harness provides the electrical connection between the tow vehicle and trailer for the lighting system. Damage, worn or loose pins, and corrosion can lead to failure of this crucial component. Replacing a faulty trailer wiring harness often resolves persistent lighting problems that resist other troubleshooting efforts.
Incorrect Wiring
If lights worked initially but suddenly stopped, incorrect wiring may be to blame. Trailer light wiring is complex and specific to connector type. Improper pinouts to the vehicle harness or crossed circuits can easily occur, especially when rigging a custom harness. Double checking that wires are properly connected to the correct pins and circuits can get lights functional again.
Poor Ground on Tow Vehicle
The vehicle needs proper grounding as well for completing the lighting circuit. Corrosion on the frame, loose battery cables, or damaged ground straps can impact ground integrity. Clean and tighten electrical connections at the battery and between the frame and body. This may restore trailer lights that stopped working for no apparent reason.
Bad or Wrong Ball Mount
Trailer ball mounts need to match the coupler size and be sturdy enough for the trailer weight. If the mount is loose, worn, or undersized it can affect the connection integrity through the hitch. A faulty ball mount can interfere with grounding and cause intermittent contact that disrupts lighting function. Always make sure to use the correct class and shank size for your trailer.
Damaged Roof Wiring
For enclosed trailers, exterior lights are often wired through the roof. Punctures, loose connectors, and gaps around wiring penetrations can allow water intrusion that damages this vulnerable lighting wiring. Carefully reseal any openings and secure connectors to keep rain and debris out.
Bad Connector Plugs
Most trailers use a 4-way flat connector to interface lighting with the tow vehicle. Ball trailers may use a 4- or 7-way round connector instead. Contacts inside these connectors can stop making a solid connection over time, especially when unplugged and reconnected frequently. Bent pins, corrosion, and plastic deformation can prevent electrical contact. Replace worn connectors and plugs to restore lighting function.
Top Troubleshooting Tips
Pinpointing the exact cause of trailer lighting issues can be tricky. Here are some useful troubleshooting techniques for diagnosing problems:
Inspect All Wiring
Carefully examine every inch of wiring for damage. Look for chafing, pulling, cracking, burning, or exposed copper. Pay special attention to connectors, penetrations, and grounding points. Even minor wiring insulation damage can lead to lighting failure when exposed to road grime and moisture.
Check Wire Connections
Wiggle each wire connection to see if lighting flickers on and off. This indicates a loose or corroded connection that is interrupting electricity flow. Unplug and reconnect connectors several times to scrape away corrosion. Bent or broken connector pins will need to be repaired or replaced.
Perform Voltage Drop Tests
Use a digital multimeter to check for excessive voltage drop along the length of wires. This will identify locations where resistance is too high, causing loss of power. Start at the power source and move outward towards lights and connectors during testing.
Isolate the Circuit
Narrow down the source of the problem by isolating parts of the trailer wiring. For example, disconnect the trailer wiring harness to see if lights come on when direct power is applied. Check each light individually to pinpoint failures. If needed, run a new dedicated ground wire for testing purposes.
Use a Test Light
An inexpensive test light that glows when electrical current is present can quickly identify wiring continuity issues. Probe wires and connections while operating different switches to see where current stops flowing. Start at the tow vehicle connector and work backwards towards damaged wires.
Inspect Running Lights Separately
Since separate circuits are used for turn signals and brake lights, make sure to check the running lights independently. Turn on just the headlights and taillights to see which section is not functioning. The problem is likely isolated to a certain lighting circuit.
Shake Light Harnesses
Corrosion often forms inside connector housings which can interrupt circuits. Shaking or tapping on harnesses and junction boxes may temporarily restore function so failed lights can be identified during testing. Then areas triggering malfunctions need to be cleaned or replaced.
Replace Components One at a Time
Swapping out parts piecemeal can help determine if the issue is wiring, a light fixture, connector, or another component. Move backwards starting from lights to make sure everything is working properly. The last functioning piece removed identifies the faulty part.
Look for Switches and Breaks
Some trailers have convenience light switches that can accidentally get turned off. Trailers with separate brake controllers could have a short disabling that circuit. Visually follow the wiring looking for unexplained cuts, disconnected junctions, or unfamiliar electronics connections.
Fixing Trailer Lighting Problems
Once the underlying issue is found, repairs can be made to get trailer lights functioning properly again. Here are some tips for resolving common problems:
Repair Damaged Wiring
Splice in new wire to replace any sections that are cut, corroded, burned, or damaged. Soldering provides the most durable connection followed by high quality butt connectors or crimp terminals. Use adhesive lined heat shrink tubing to weatherproof splices.
Clean Grounding Points
Use sandpaper or a wire brush to clean dirt, rust, and corrosion off of grounding points at the hitch ball, frame, and trailer tongue. Baking soda or coke can also help dissolve excessive oxidation. Apply dielectric grease to prevent future corrosion.
Replace Bad Connectors
Cut out and install new 4-way or 7-way trailer connectors that are matched to your existing wiring. Make sure the new connector has the same terminals and fits correctly into your vehicle socket. Soldering wires into the connector housing provides maximum reliability.
Seal Roof Penetrations
Use silicone caulk or rubber grommets to plug any gaps around wiring passing through the roof. Secure loose connectors and wires to prevent chafing. Run conduit or loom through holes to protect wiring from sharp sheet metal edges.
Install Diode Kit
Fix crossed circuits causing wrong lights to activate by installing a diode wiring kit. Diodes allow electricity to flow in only one direction which isolates lighting circuits properly. Choose a kit matched for your connector type and wiring configuration.
Replace Light Fixtures
Install compatible LED replacement lights to avoid burnouts from vibrations. Apply reflective tape inside the trailer to increase illumination from functioning lights. Routinely check and replace bulbs that have failed.
Upgrade Wiring
For frequent lighting problems, upgrade wiring to a higher gauge capable of handling required amp loads. Heavier 10, 8, or 6 gauge trailer wire will improve durability and prevent voltage drop issues. Proper wiring is key to keeping lights working.
Add Ground Wires
Run an auxiliary ground wire from trailer lights directly to the vehicle frame if a ground issue is suspected. For interference problems, install a separate ground from lights to the trailer frame instead of relying solely on the hitch.
Preventing Future Trailer Light Failure
Proper maintenance and installation will minimize annoying lighting problems down the road:
Use Waterproof Connections
Apply dialectic grease inside connectors and cover with rubber boots to prevent corrosion. Stabilize wires entering and exiting the connector to avoid breakage.
Protect Exposed Wiring
Wrap wiring with abrasion resistant loom and secure along the frame with cable ties. Use heat shields and wire conduit in hot or exposed areas. Proper support will reduce vibration damage.
Inspect Before Each Trip
Make it a habit to check trailer lights before hauling every time. Look for broken bulbs, loose plugs, cracked lenses, low batteries, and other issues that could leave you stranded without critical lighting.
Keep Connectors Clean
Frequently use contact cleaner spray to prevent dirt and corrosion buildup on connectors. Store connectors in a plastic bag when not in use. Never leave plugs on the ground when unhooked.
Re-torque Wiring
Periodically check and tighten screws on junction blocks, grounding points, and trailer plugs. Loose hardware vibrates causing damage over time.
Correct Wiring Gauge
When replacing or upgrading wiring, choose the correct gauge for expected amperage loads. Heavier wire lasts longer. Use separate braided ground straps sized at least equal to positive wires.
Service Breakaway Battery
Check the charge level monthly and keep the breakaway battery maintained according to manufacturer specifications. Letting the battery die will disable this important safety system.
Avoid Running Over Connectors
Position connectors to avoid driving over them during trailer loading and unloading. Trailer wiring placed in the main traffic path gets damaged much faster.
When to Call a Professional
Some trailer wiring problems can be complex, time consuming, or hazardous to DIY. Get help from a professional trailer technician for:
- Complete rewiring or replacement of custom built harness
- Major damage from rodents, chemicals, or fire
- Fixing shorts and crossed circuits in junction boxes
- Brake light wiring malfunctions
- Electrical problems that could overload and start an electrical fire
- Lights not working after exhaustive personal troubleshooting
- Trailers still under warranty where wiring issues are covered
- Safety concerns working around high voltage vehicle connections
Professionals have the tools and expertise to efficiently diagnose and resolve even the most troublesome trailer wiring problems. They can also provide guidance on preventative fixes to improve the long term reliability of your trailer lighting system.
Conclusion
Having trailer lights stop working unexpectedly can quickly put a damper on your towing plans. But in most cases, the problem is fixable with some basic troubleshooting and repairs. Checking for common issues like bad grounds, blown fuses, and damaged wires can often get lights back up and running. Maintaining your trailer wiring through preventative measures will minimize headaches down the road. And for more complicated electrical issues or safety concerns, don’t hesitate to enlist the skills of a professional trailer technician. With the right knowledge and preparation, you can confidently get your trailer lights working again and keep on trucking.