When installing inside mount blinds, proper bracket placement is crucial for getting the blinds to fit and function properly. Inside mounts are installed inside the window frame, so the brackets need to be positioned in specific spots to support the blinds.
Page Contents
Measuring for Inside Mount Blind Brackets
The first step is to accurately measure the inside of the window frame to determine the bracket locations. Here are some tips for measuring:
- Use a steel tape measure – cloth tapes can stretch and give inaccurate measurements.
- Measure width at the top, middle, and bottom of the window frame.
- Measure height on the left, middle, and right sides of the window frame.
- Note the smallest width and height measurements – the blinds will need to fit the narrowest points.
- Write down all measurements for reference.
Having precise measurements is crucial for getting brackets placed in the optimal spots.
Bracket Positioning Guidelines
Here are some general guidelines for inside mount blind bracket placement:
- Bracket height: Brackets typically go about 1-3 inches from the top of the window frame to the top of the bracket. This allows clearance for the blind hardware and gives the blinds a nice look in the frame.
- Bracket width: Space the brackets evenly from the sides of the window frame so the blind fits tension free without pulling or puckering. Place a bracket about 2-3 inches in from each side if possible.
- Bracket spacing: Evenly space additional brackets between the outer brackets every 24-48 inches. More brackets provide more support for wider blinds.
- Stud mounting: Try to position brackets so at least one or two are anchored into wall studs. Use stud finders and knock to locate studs.
- Middle alignment: Align the middle brackets under the middle of the blinds for optimal support.
However, the optimal bracket placement can vary depending on the specific blind and installation situation.
Tips for Different Inside Mount Blind Types
Here are some bracket tips for specific inside mount blind types:
Roller & Solar Shades
- Space brackets evenly across width.
- Put 1 bracket about 3 inches from each side.
- Add 1 bracket near middle for shades up to 60 inches wide.
- Use 2 middle brackets for shades 60-96 inches wide.
- Make sure brackets align with shade hem pockets or tape.
Wood & Faux Wood Blinds
- Ensure brackets align precisely with ladder strings.
- Position side brackets about 3 inches in from frame edges.
- Space middle brackets evenly, every 18-24 inches.
- Use wider brackets to better support slats and prevent sagging.
Vertical Blinds
- Use a center support bracket aligned in the middle of the window frame.
- Put an L-shaped stabilizing bracket about 6 inches from each side edge.
- Space any additional brackets evenly between the stabilizers.
Cellular & Pleated Shades
- Put the side brackets about 3 inches in from edges.
- Evenly space middle brackets every 24 inches.
- Make sure brackets align with adhesive strips on shade.
- Use flat head screws on brackets to avoid contacting shade material.
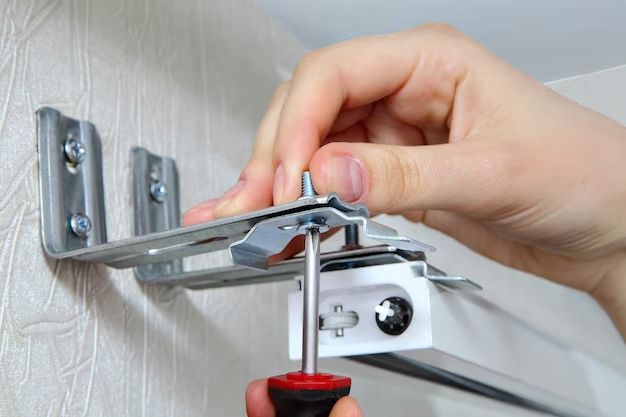
Mounting the Brackets
Once the measurements are taken and optimal bracket spots determined, it’s time to mount the brackets. Here are some tips for smoothly installing blind brackets:
- Hold each bracket in position, mark holes with pencil.
- Use a level to make sure brackets are evenly aligned.
- Drill pilot holes if screwing into studs to avoid wood splitting.
- Use wall anchors and provided screws for drywall or plaster mounting.
- Use a drill with a screwdriver bit to drive screws efficiently.
- Don’t overtighten screws – tight enough to secure brackets is ideal.
- Go slowly and double check alignment as you install brackets.
- Fill any holes and touch up paint if necessary when finished.
Follow any specific bracket mounting instructions that come with the blinds. With good measurements and proper installation, the blind brackets will provide sturdy support right where needed.
Troubleshooting Tricky Inside Mounts
Mounting blinds inside uneven window frames can be tricky. Here are some solutions for common inside mount issues:
Uneven Dimensions
- Add shims if window frame is uneven side to side.
- Shim down any high spots higher than the narrowest width.
- Fill in low spots to match the narrowest width.
Out of Square Window
- Identify the out of square corner and use it as the starting point.
- Measure from this spot for all bracket locations.
- The shade will match the angle of the corner as it rotates.
Obstructions in the Way
- Measure carefully around any obstructions like handles or vents.
- Position brackets in between or above obstructions.
- If needed, add L-brackets to mount around obstructions.
Uneven Ceiling Drop
- Account for uneven drops when measuring for bracket height.
- Adjust inner brackets lower as needed.
- Keep outer brackets higher to maintain valance lines.
Being flexible and creative with bracket placement helps ensure a smooth inside mount installation, even in tricky windows.
Conclusion
Proper bracket placement is key for a professional looking, functional inside mount blind installation. By following measuring best practices, spacing brackets appropriately for the blind type, mounting them level and straight, and troubleshooting uneven windows, you can confidently install inside mount blinds with excellent results. Taking the time to place brackets strategically based on window specifics and blind dimensions will ensure the blinds fit beautifully and operate just right inside the window frame.
| Blind Type | Bracket Height from Top of Frame | Bracket Spacing |
|---|---|---|
| Roller & Solar Shades | 1-3 inches | 24-48 inches |
| Wood & Faux Wood Blinds | 1-3 inches | 18-24 inches |
| Vertical Blinds | 1-3 inches | Evenly spaced |
| Cellular & Pleated Shades | 1-3 inches | 24 inches |